Here's the verdict up front: in multi-temperature warehouse flow design, every movement of goods or people across temperature zones must pass through a buffer — never straight through a door. Whenever ambient, chilled, and frozen zones are connected by a "direct door," nine times out of ten you get temperature cross-contamination. It's never the door's fault. The flaw was designed into the flow on day one.
Fix the zone boundaries first; everything else hangs on them. The numbers below come from cold-chain logistics standards, not from my head: ambient 10–30°C, chilled 0–4°C, frozen at or below −18°C. And two red lines: product temperature fluctuation no more than ±2°C, warehouse fluctuation during inbound/outbound moves no more than ±3°C. The entire job of flow design is to hold those two lines under peak operating conditions.
Why the Root Cause Is the Flow, Not the Door
People love to blame the door: swap in a faster door, add an air curtain, problem solved. I've seen this exact script play out three times, and every time the doors got more expensive while the temperature curves didn't budge.
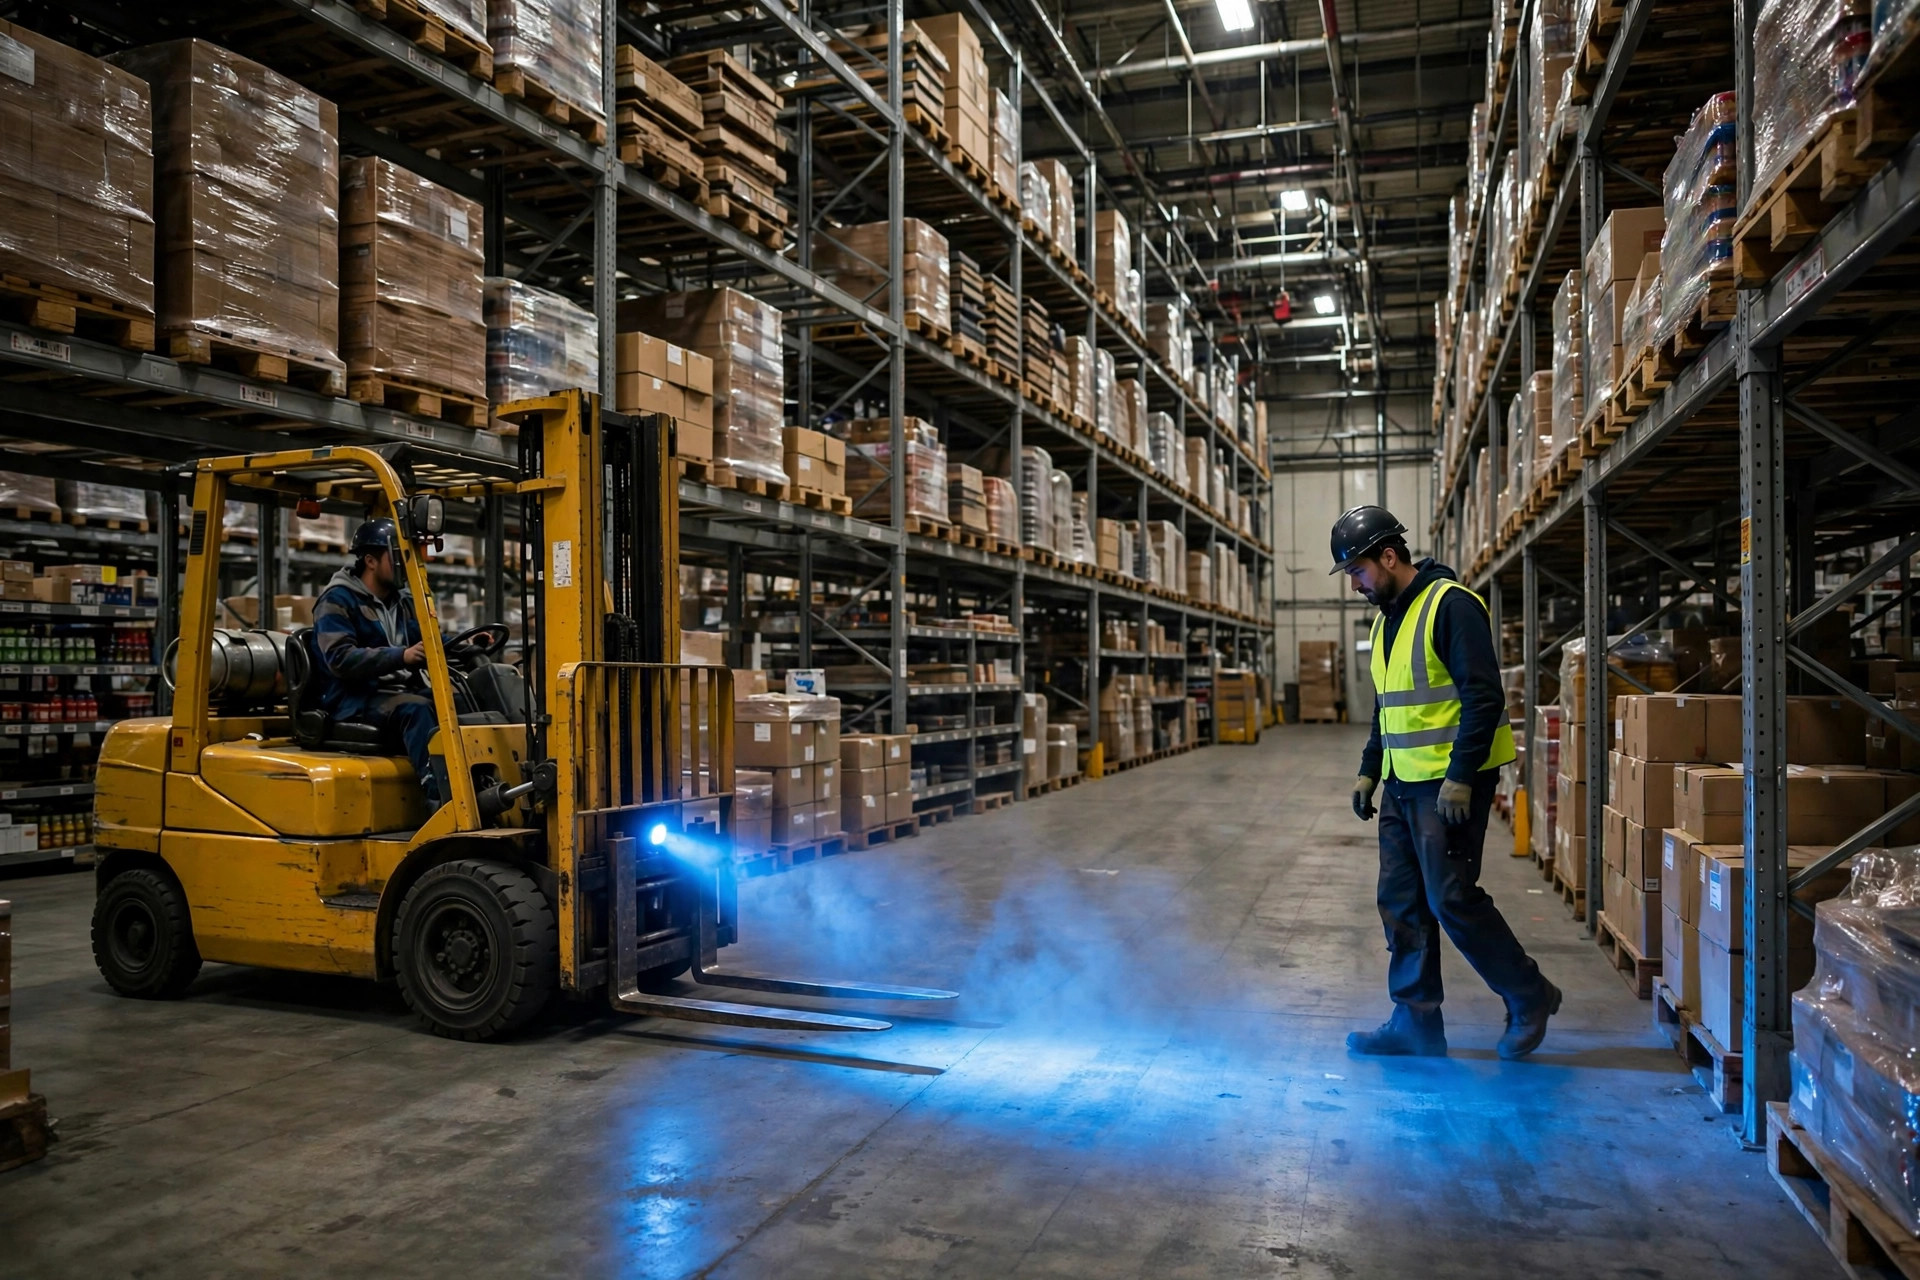
The physics is simple. When a cold-store door opens, dense cold air sinks and pours out along the floor while warm air rushes in over the top — the stack effect. It doesn't matter how fast your door is if your flow design sends forklifts through it 200 times a day. The flow decides how many times the door opens, how long it stays open, and who passes through. The door only decides how fast each opening happens. That's the first principle of multi-temperature warehouse flow design: count the door openings before you shop for door speed.
Three Classic Ways Three Zones Trade Temperatures
Failure 1: The chilled store's door opens straight into the ambient picking area — and stays propped open.
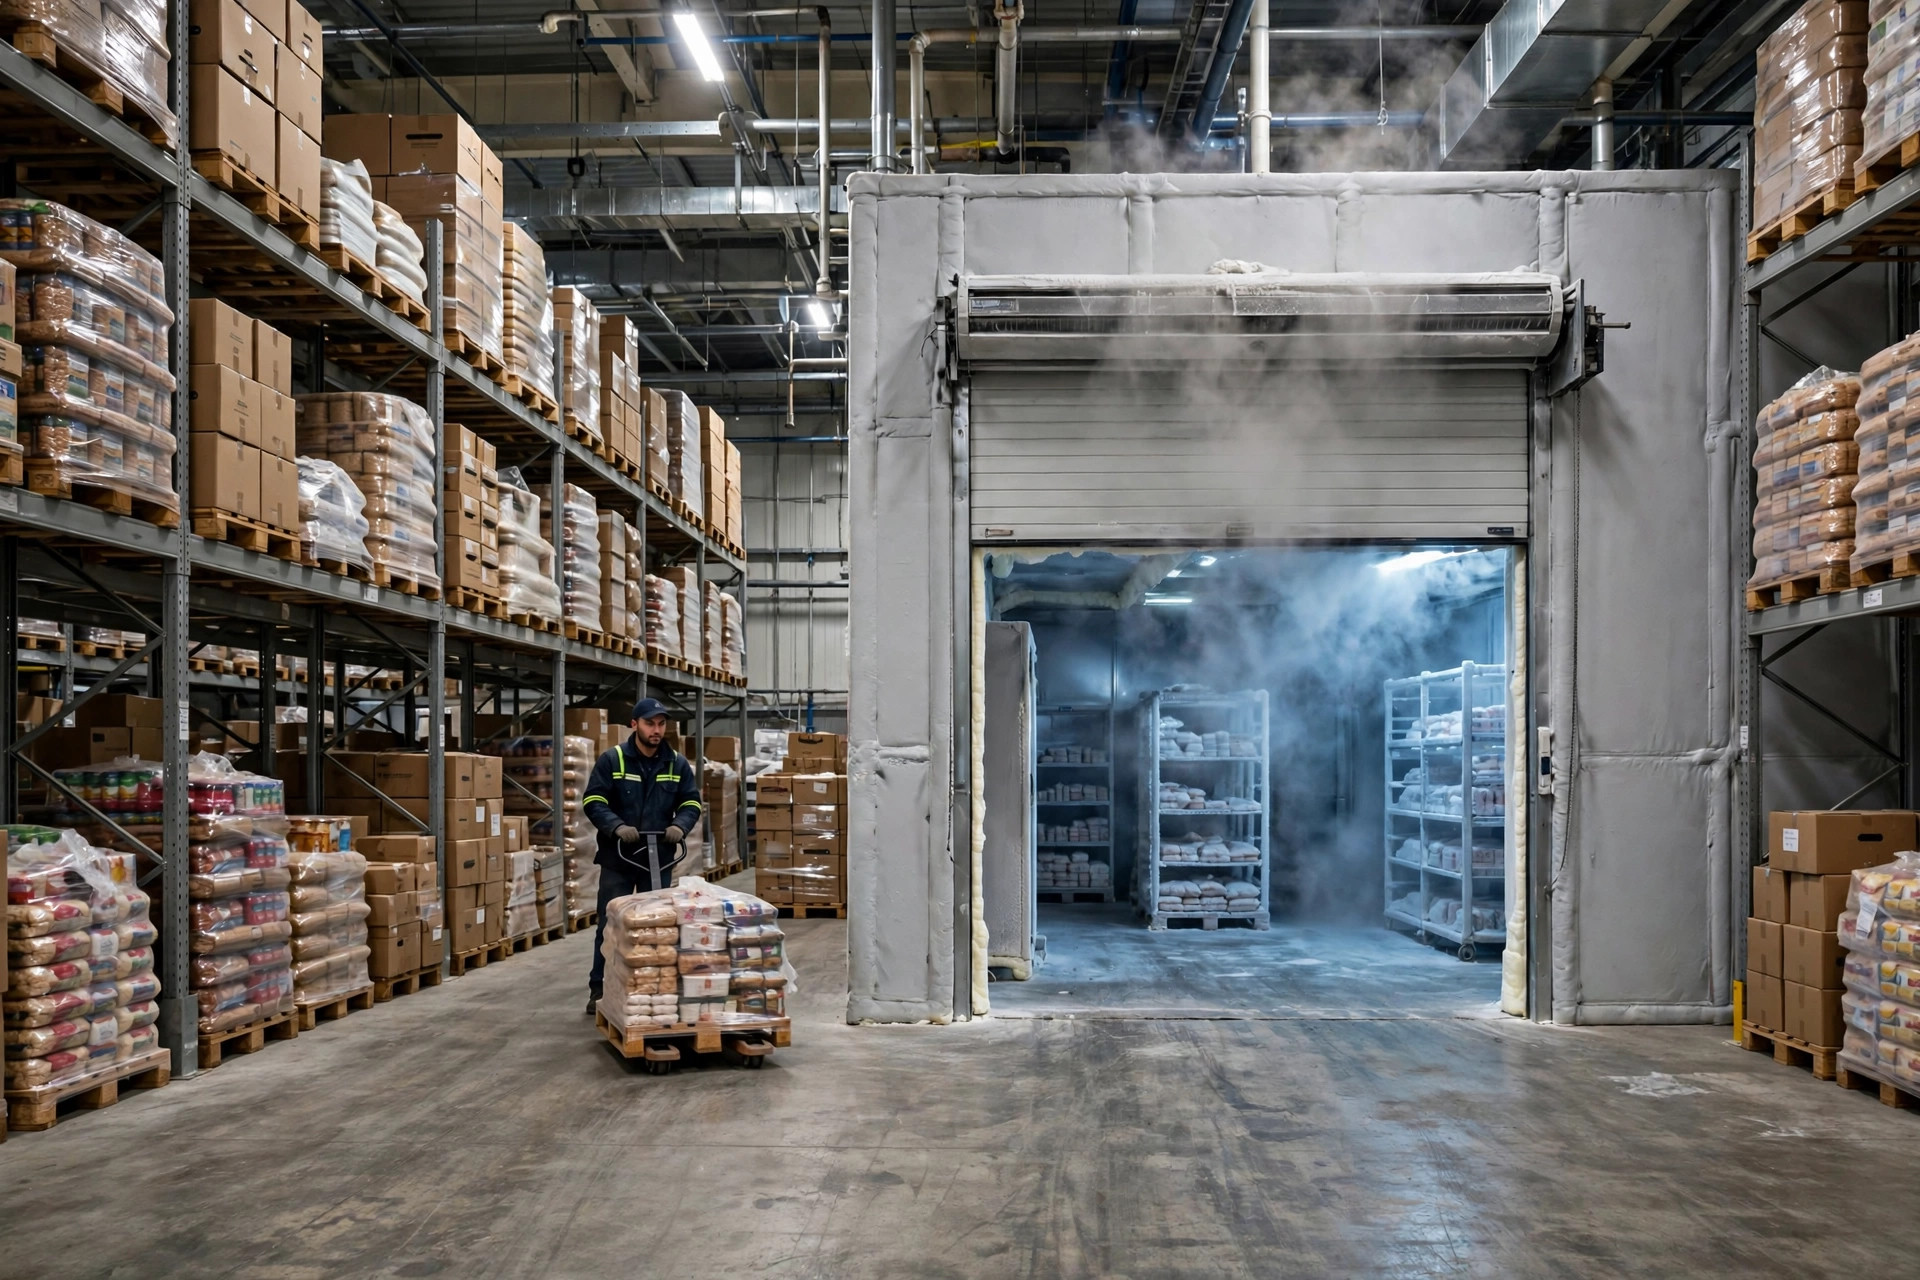
In 2023 I was implementing WMS at a fresh-food e-commerce regional DC in East China. Their chilled store (0–4°C) opened directly into the ambient sort area, and pickers wedged the door half-open with a pallet all day. Loggers showed product near the door drifting to 6–7°C, with a batch of yogurt approaching the 4°C red line. A supermarket client nearly rejected the whole batch on audit.
Three moves fixed it: an anteroom with interlocked doors (only one opens at a time); chilled picking tasks merged into WMS waves — one wave, one door opening; and no storage locations within 3 meters of the door, where product takes a thermal shock every time it opens.
Failure 2: The freezer and the chiller share one aisle — and the doorway turns into an ice rink.
In 2024, a 3PL's multi-temperature warehouse had its freezer (−18°C) and chilled zone sharing a main aisle. Forklifts tracked condensation out of the freezer, which refroze at the doorway. Two slides in one month; one bent the door frame, and the repair bill would have bought two air curtains.

The fix: the freezer gets its own aisle and its own dock, forklift tasks bound to zones in the WMS, and an air curtain plus dehumidification at the doorway.
Failure 3: An open dock, so the whole chilled zone breathes outdoor air.
The most common and most expensive. An open chilled dock means the moment a reefer backs in and opens its doors, the chilled store convects directly with the outdoors. On a 35°C day the plant runs flat out and still can't recover. One fix exists: enclose the dock with insulated doors, close the dock door after docking, then open the trailer — write the sequence into the SOP and enforce it as a WMS outbound checkpoint.
The Seven-Step Checklist for Multi-Temperature Flow Design
Walk these seven steps before drawing any layout. Each step's output feeds the next.
Step 1: Lock the zone boundaries down to the SKU.
List every SKU, assign it a zone: ambient, chilled, or frozen. The only criterion is the product's storage requirement — never "convenience." Boundary SKUs always go to the stricter zone. Deliverable: an SKU-to-zone mapping table, plus a zone field in the WMS item master. Every rule downstream reads that field.
Step 2: Draw the goods flow and label the zone at every stage.
Receiving → QC → putaway → storage → picking → check → pack → ship: eight stages, each labeled with its zone. Then count zone crossings per pallet from receiving to shipping. My rule: no more than 2 crossings for a standard flow (one inbound, one outbound), zero during picking. Over that, redesign the layout — don't manage your way out of a design flaw.
Step 3: Draw the people flow separately. No shortcuts.
Staff enter and exit each zone from the ambient area; nobody cuts through one zone to reach another. Each zone gets its own personnel entrance with changing/buffer space (freezer work means insulated clothing). On go-live night, walk the drawing and hunt for the "everyone will shortcut it" path. Found one? Block it.
Step 4: Turn zone crossings into KPIs.
Make "zone crossings per pallet" and "daily door openings between zones" formal KPIs. The WMS counts both: crossings from task types, openings from door sensors. Three months after go-live, only the KPIs keep people honest.
Step 5: Size the isolation equipment with the decision table.
| Crossing point | ΔT | Traffic | Recommended | Don't do this |
|---|---|---|---|---|
| Ambient ↔ chilled | ~15–25°C | Low (dozens/day) | PVC strip curtain + air curtain | Leave it open |
| Ambient ↔ chilled | ~15–25°C | High (hundreds/day) | Insulated high-speed door + air curtain | Standard roller door (too slow) |
| Ambient ↔ frozen | ~30–50°C | Any | Anteroom (interlocked double doors) + insulated high-speed door + air curtain | Single direct door — the #1 hotspot |
| Chilled ↔ frozen | ~20–25°C | Low | Insulated door + air curtain | Unseparated direct passage |
| Chilled ↔ frozen | ~20–25°C | High | Anteroom + insulated high-speed door | Rely on "please close the door" |
| Chilled dock | To outdoors | During loading | Enclosed dock + insulated doors; close dock door first, then open trailer | Open dock |
Two verified numbers for sizing: insulated high-speed doors open at roughly 2.5 m/s — a 16-foot (~4.9 m) door fully opens in under 2 seconds, so each opening exchanges less heat. One published case study reported infiltration dropping sharply after the switch, with estimated energy savings around 40% (manufacturer-measured; your mileage varies with traffic). Air curtains are standard issue, not optional — but they only slow convection, they don't replace a door.
Step 6: Hard-code the flow into WMS rules.
A flow that never lands in the system is wall decoration. Four rules, none optional:
- Split waves by zone: one pick wave, one zone — a picker enters one temperature zone per trip.
- Zone-aware slotting: fast movers far from zone doors; no locations within 3 meters of a door.
- Bind forklifts to zones: freezer forklifts never get chilled-zone tasks. Equipment, like people, doesn't cross zones.
- Checkpoint every crossing: the WMS logs time and task ID per crossing, so a temperature alarm traces back to the exact trip.
Step 7: Run a 72-hour temperature curve at full load and peak door frequency.
Before go-live, fill past 80%, run three days at peak-season door frequency, export every zone's curve. Acceptance: product within ±2°C, warehouse within ±3°C during moves. Any spike — check the door logs for that window. Nine times out of ten, some door was wedged open.
One Counter-Intuitive Call
In a multi-temperature warehouse, the most expensive thing isn't the refrigeration plant. It's the flow.
People budget the equipment: the plant, the panels, the doors. But cross-contamination math looks like this: one rejected batch costs the full goods value plus freight plus client trust; a plant running flat out against permanent doorway convection burns enough extra electricity in a year to buy several doors. "Sharing one aisle saves space" is fake savings — you save a few dozen square meters on paper, and spoilage plus energy bills eat the rent savings in half a year, with interest. An extra week spent on multi-temperature warehouse flow design may be the highest-ROI week of the whole project.
Go-Live Night Checklist: Check These Five Before You Sleep
- Are the anteroom doors actually interlocked? (I've seen this pitfall three times: interlock on the drawing, electrician never wired it, both doors swing open together — the anteroom becomes decoration.)
- Are WMS waves really split by zone? Pull three random waves and check for mixed-zone orders.
- Where are the temperature sensors? At rack level, product height — not the evaporator outlet, which measures cooling capacity, not product temperature.
- Any locations within 3 meters of a door? Move them.
- Door-open overtime alarm? One opening beyond the limit (say, 3 minutes) should trigger light, buzzer, and a push to the shift lead's phone. A door with no alarm is a door that doesn't exist.
There's no mysticism in flow design — just writing down, one by one, how goods move, how people move, and how doors open, then letting the WMS watch it for you.
By Lin Xiao, WMS Implementation Consultant