Before You Sign: Four Numbers Size the Whole Wall
Every failed put wall project I have seen started with a vendor sizing the wall off a sales-day order count. The wall does not care about orders per day — it cares about four numbers, and you should have all four in writing before anyone quotes hardware:
- Lines per order. Put walls earn their keep roughly between 2 and 8 lines per order. Below that, most items go straight to pack anyway; above that, cubbies fill faster than they clear.
- Orders per wave. One wave occupies one cubby per order. A 60-cubby wall physically cannot hold a 120-order wave — the wave size must be capped at cubby count, minus a buffer for exceptions.
- Peak-to-average ratio. If your peak day runs 2–3× your average (a common range for promotional e-commerce), decide explicitly: size the wall for peak and let it idle off-season, or size for average and plan an overflow process. Both are defensible; drifting into peak week with no plan is not.
- Cubby dwell time. How long a completed order sits in the cubby waiting for pack-out. This, not put rate, is what usually saturates a wall first.
Bring two weeks of real order data — not the WMS demo profile — to the sizing conversation. The put-to-wall math guide walks through how these numbers translate into put rates; this article assumes the math already says "yes" and covers how to actually stand the wall up.
Step 1: Cubby Planning — Count First, Then Size Mix
Cubby planning is two decisions: how many cells, and what size mix.
Count. Usable cubbies = wave size cap + exception buffer. A common planning practice is to hold back roughly 10–15% of cells for exceptions, damaged-item holds, and orders waiting on a late line. If your waves run 80 orders, plan a wall in the 90–100 cubby range rather than exactly 80 — a wall that is 100% subscribed has nowhere to put a problem order, and one problem order stalls the wave close-out.
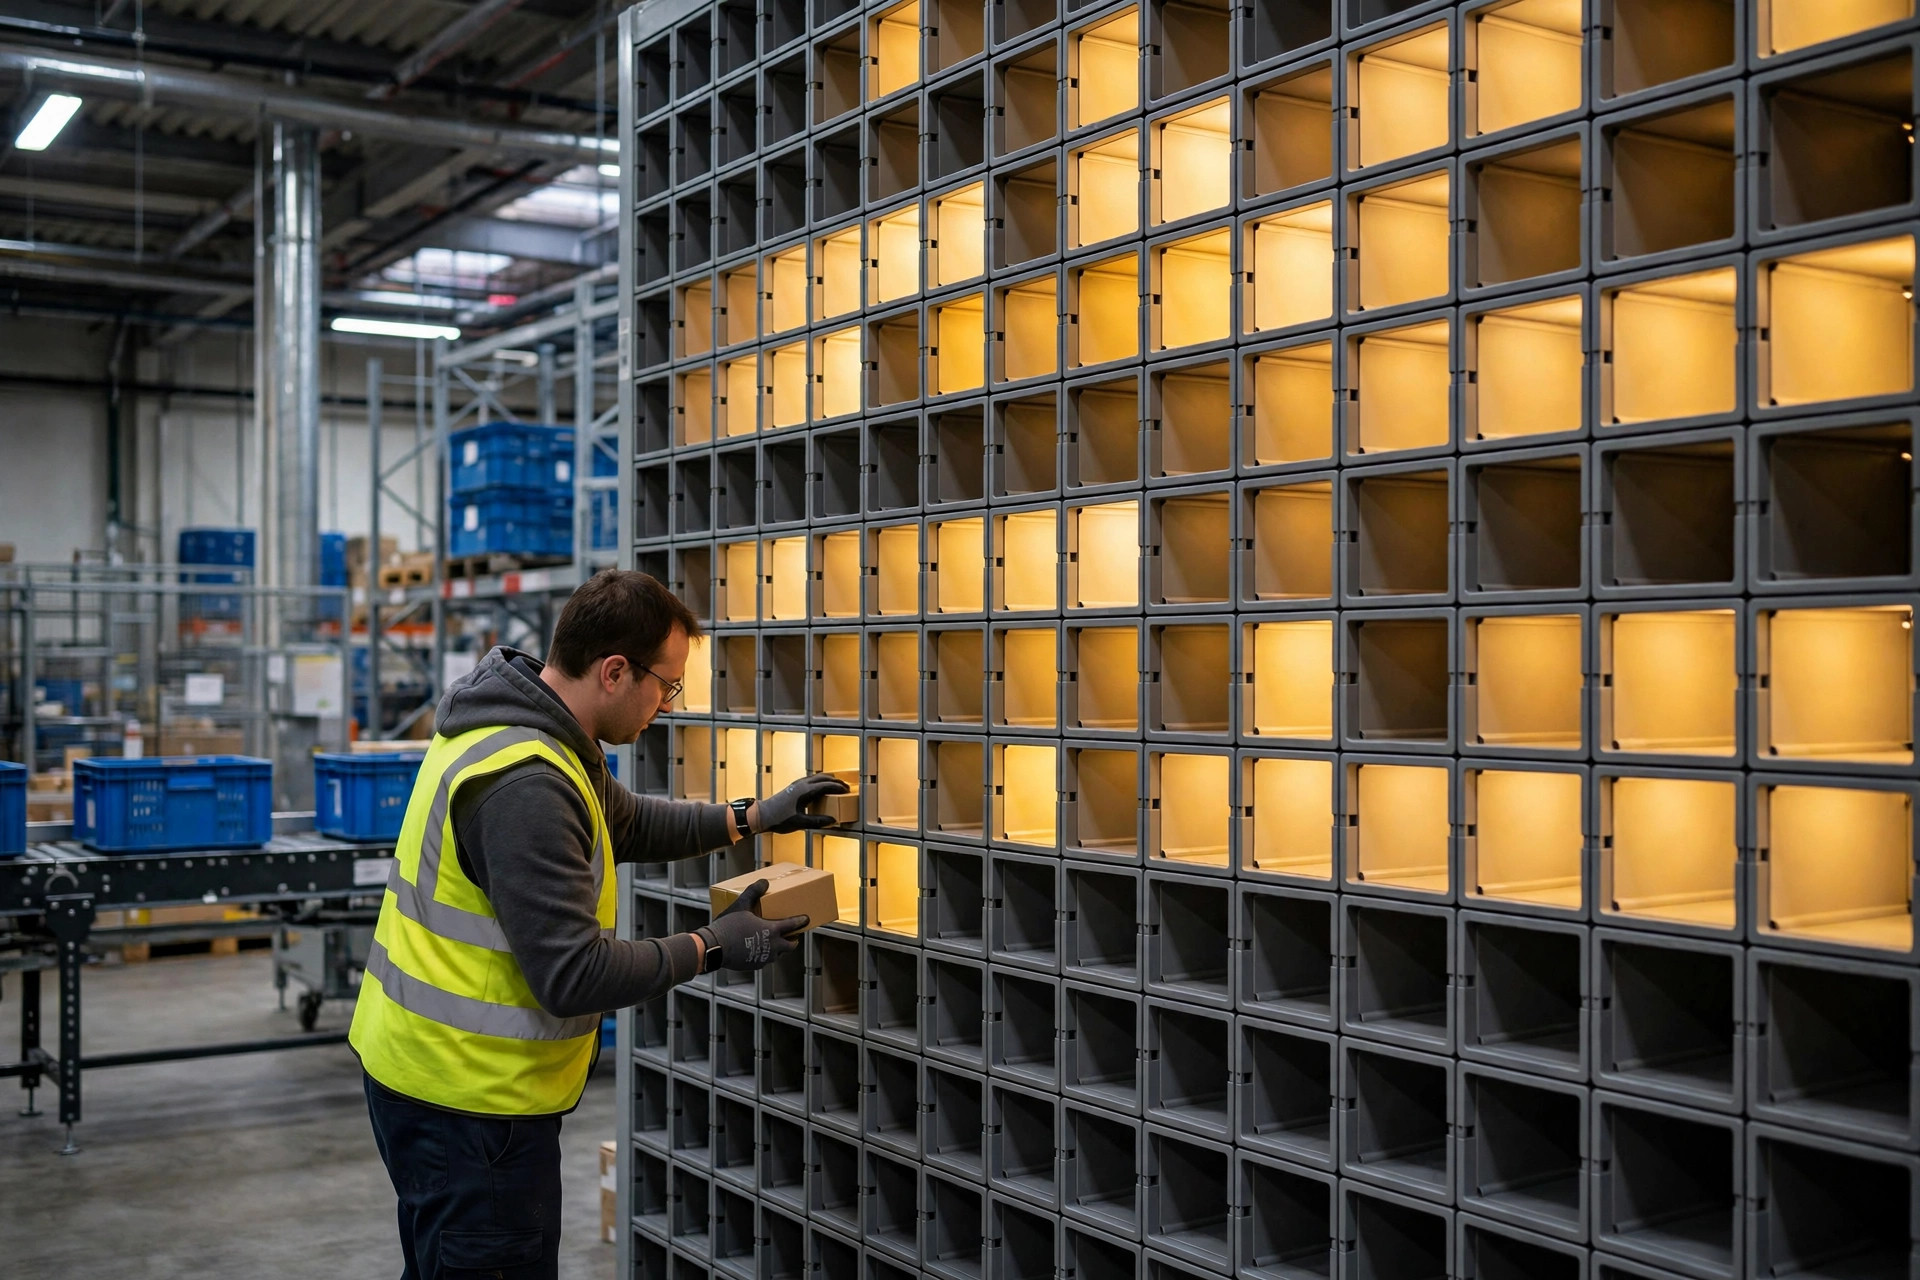
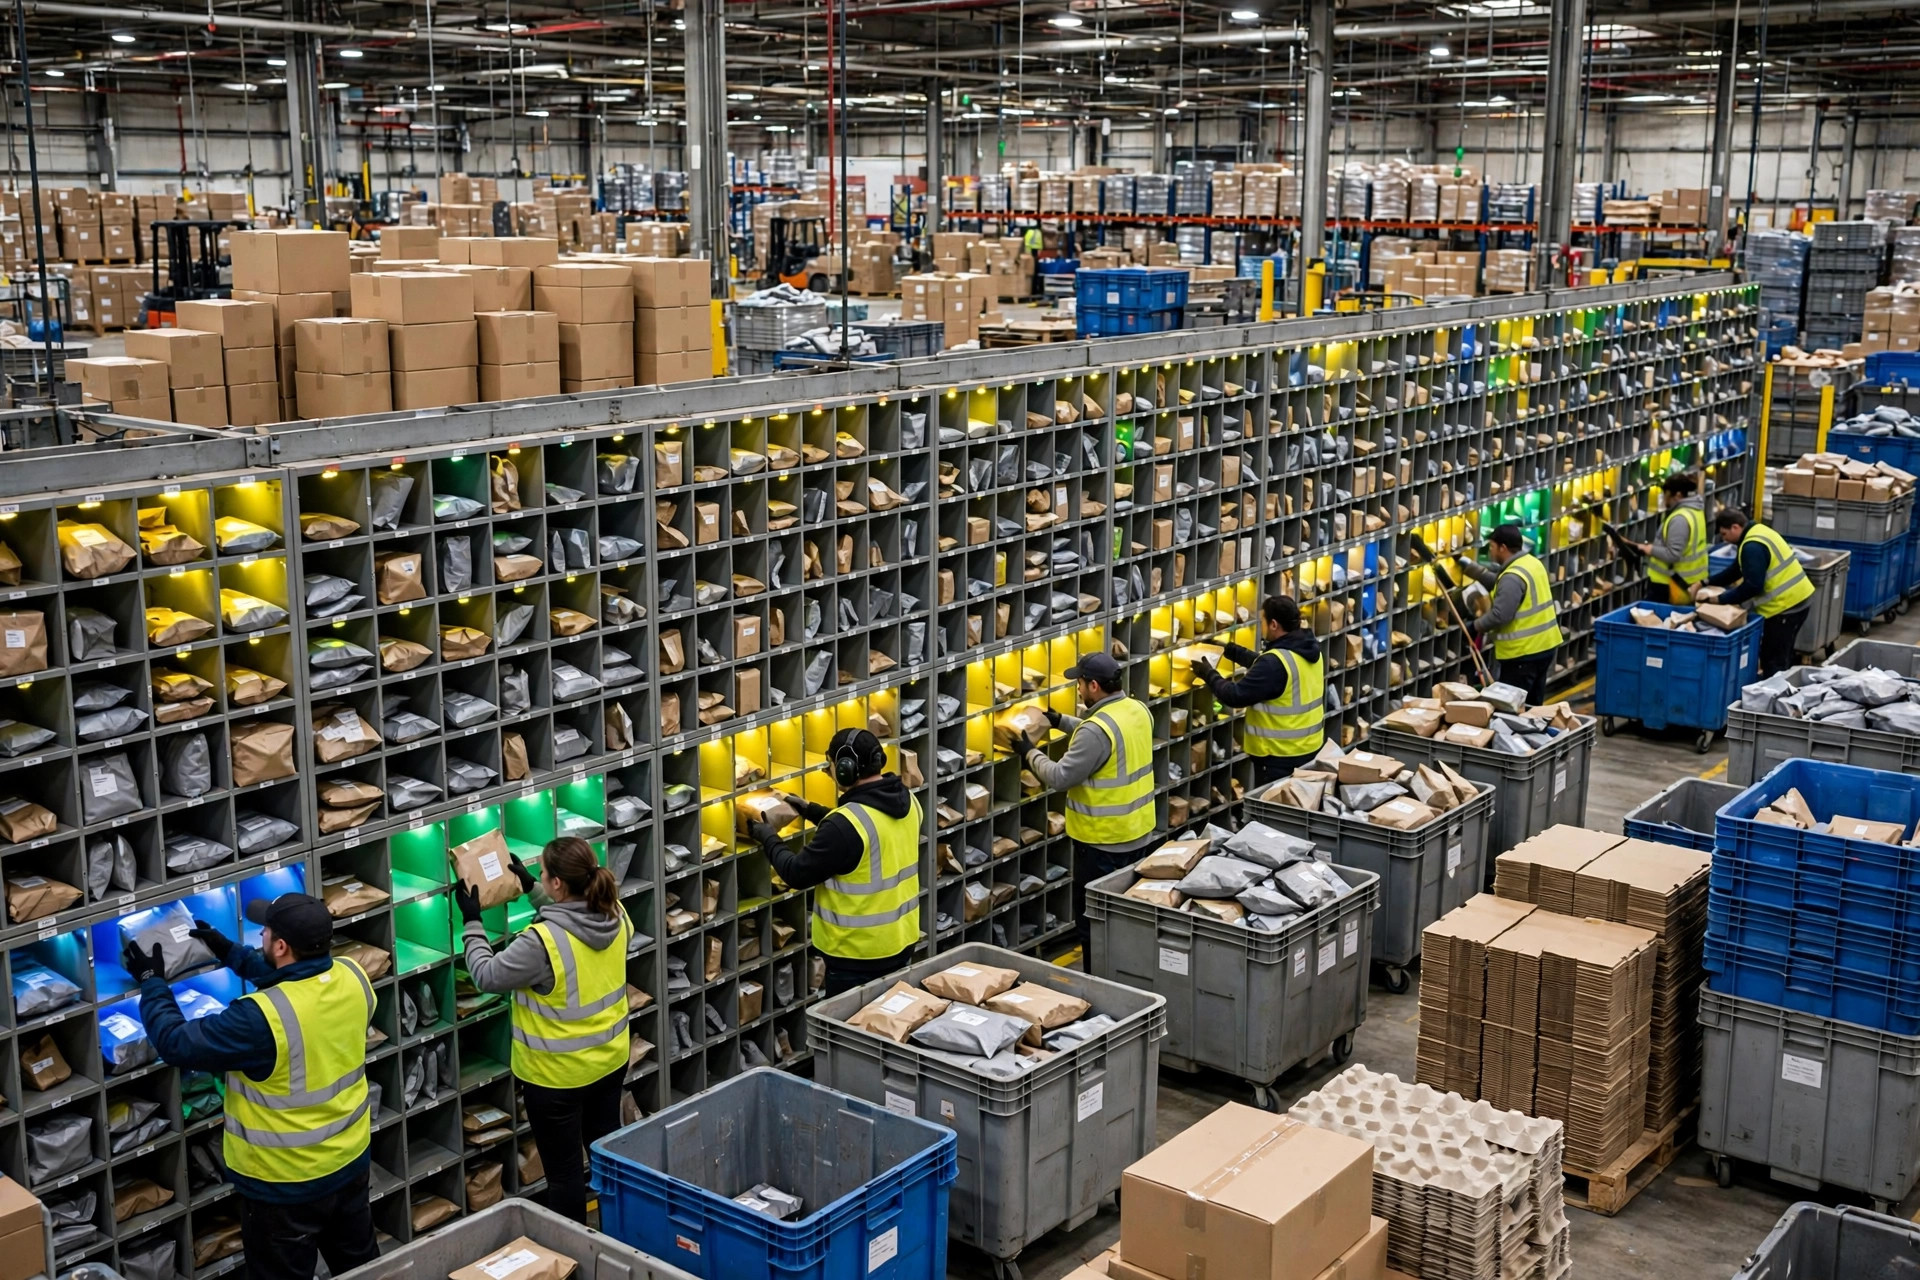
Size mix. One uniform cubby size is the classic mistake. Order profiles are rarely uniform: most orders fit a shoebox, a minority need a boot box. A frequent starting mix is a large majority of standard cells, a smaller band of oversized cells (often 10–20% of the wall), and a couple of extra-large cells at the end positions. Pull your actual carton-size distribution from pack data and mirror it — the wall should look like your order profile, not like the vendor's catalogue photo.
Also plan the wall's physical length against operator walking. Every additional metre of wall is walking time on every put. Two shorter walls facing each other often beat one long wall on travel time, and they give you a natural A/B split for waves.
Step 2: Siting and Ergonomics — The Unglamorous Step That Decides Your Rate
Where the wall stands matters more than which brand you buy:
- Face the wall to the pick drop-off. Totes from batch picking should arrive at one end (the induct end) with a scan point, conveyor spur, or cart parking that does not cross the pack-out walkway behind the wall.
- Pack-out lives behind the wall. Packers sweep completed cubbies from the rear. If pickers and packers share one aisle, both slow down.
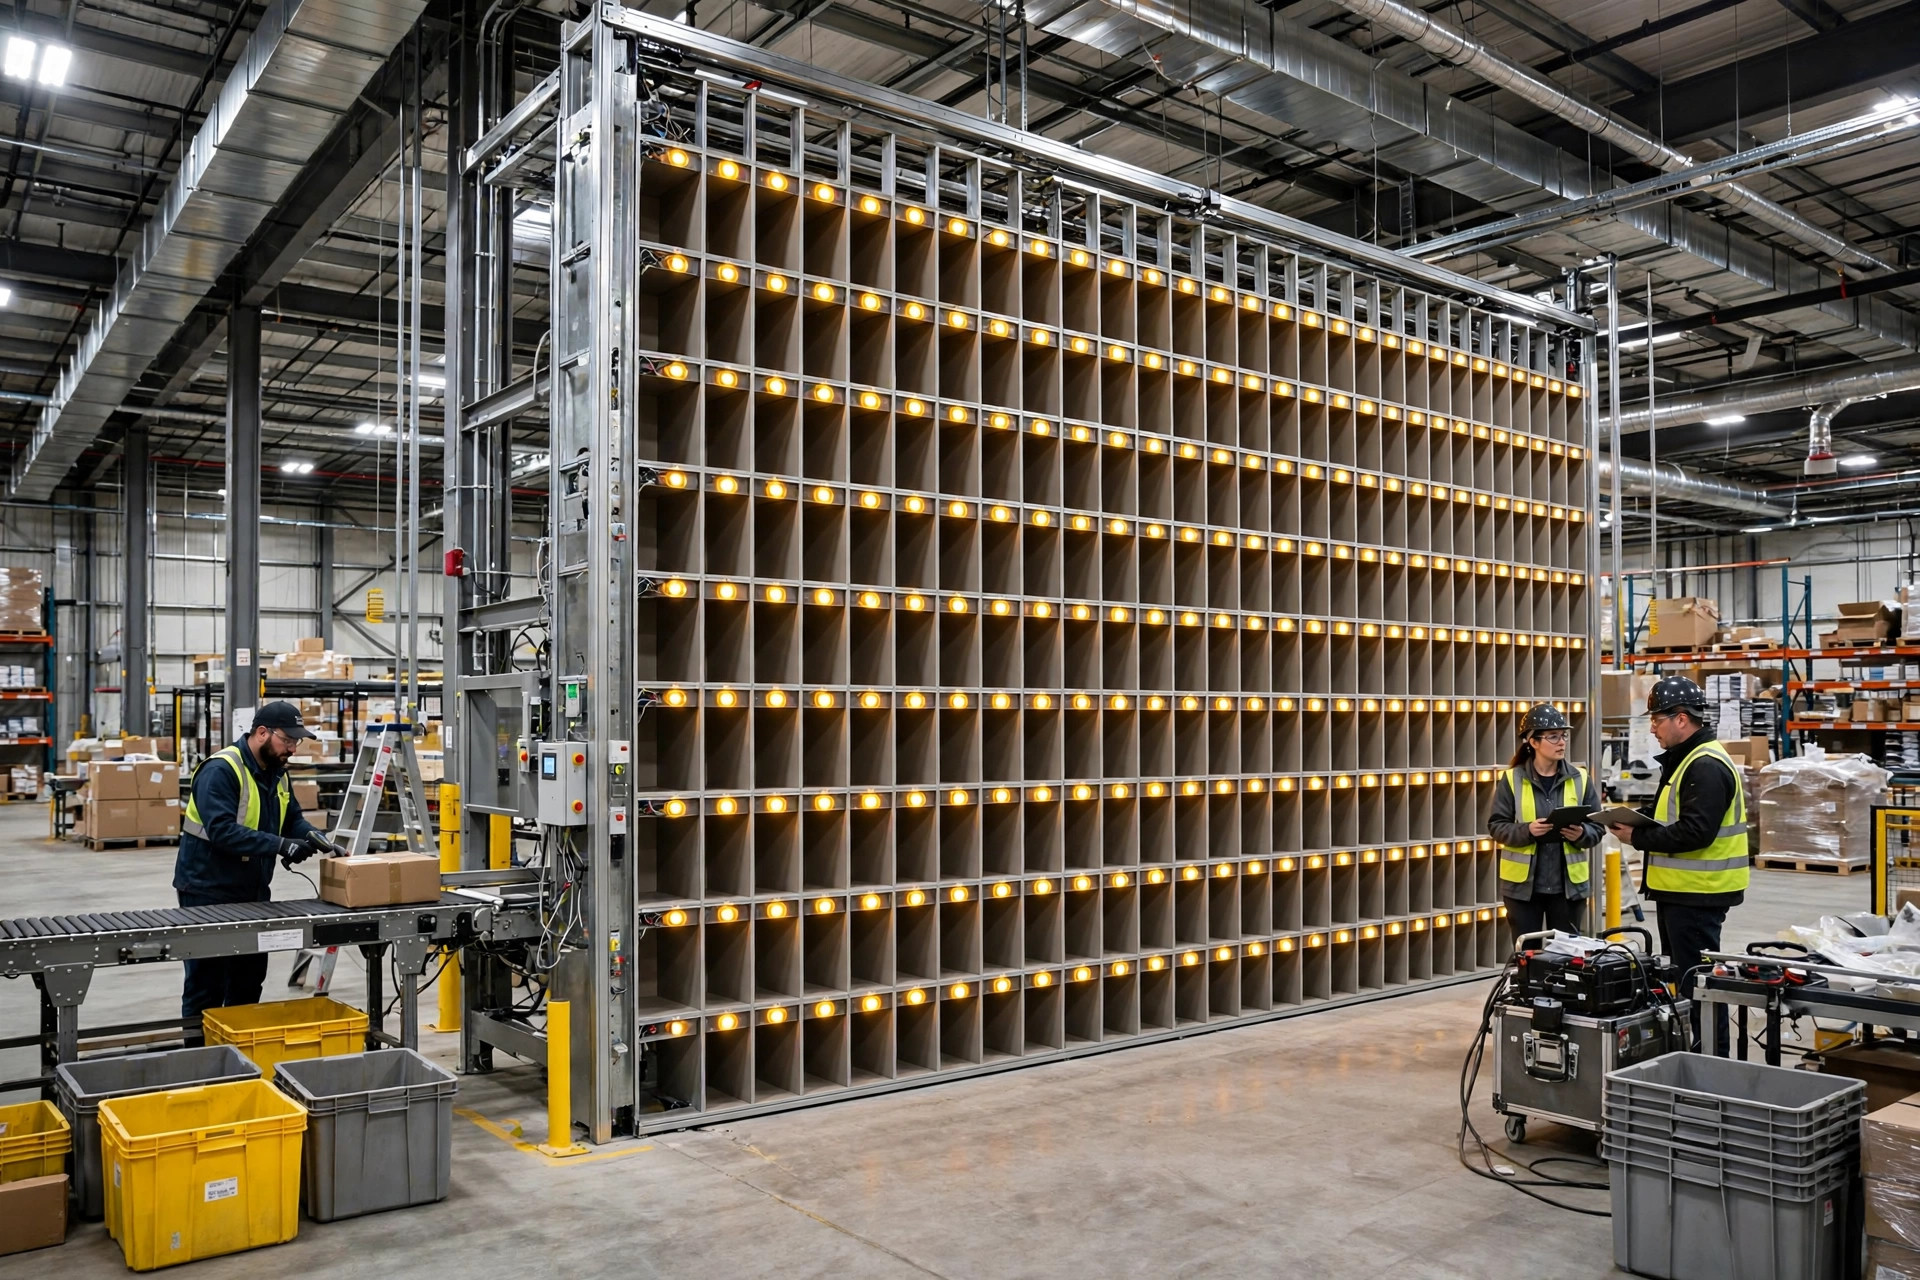
- Light height and reach. Put-to-light modules should sit at the cubby's top-front edge, inside the operator's normal eye line; the top row of cubbies should still be a comfortable reach, not a stretch. Mock this up with cardboard before steel is cut — every vendor will let you, few buyers ask.
- Power and network drops belong in the site plan from day one, not as a change order: controllers, displays, scanners, and the pack-out label printer all need them.
Step 3: System Integration — Where Projects Actually Slip
An automated put wall setup is 30% steel and 70% integration. The interfaces that must be specced, built, and tested:
- Wave release from the WMS. The WMS assigns each order to a cubby and tells the wall controller the assignment. Decide who owns cubby assignment logic — WMS or wall controller — and write it down. Split ownership is how orders end up in two cubbies.
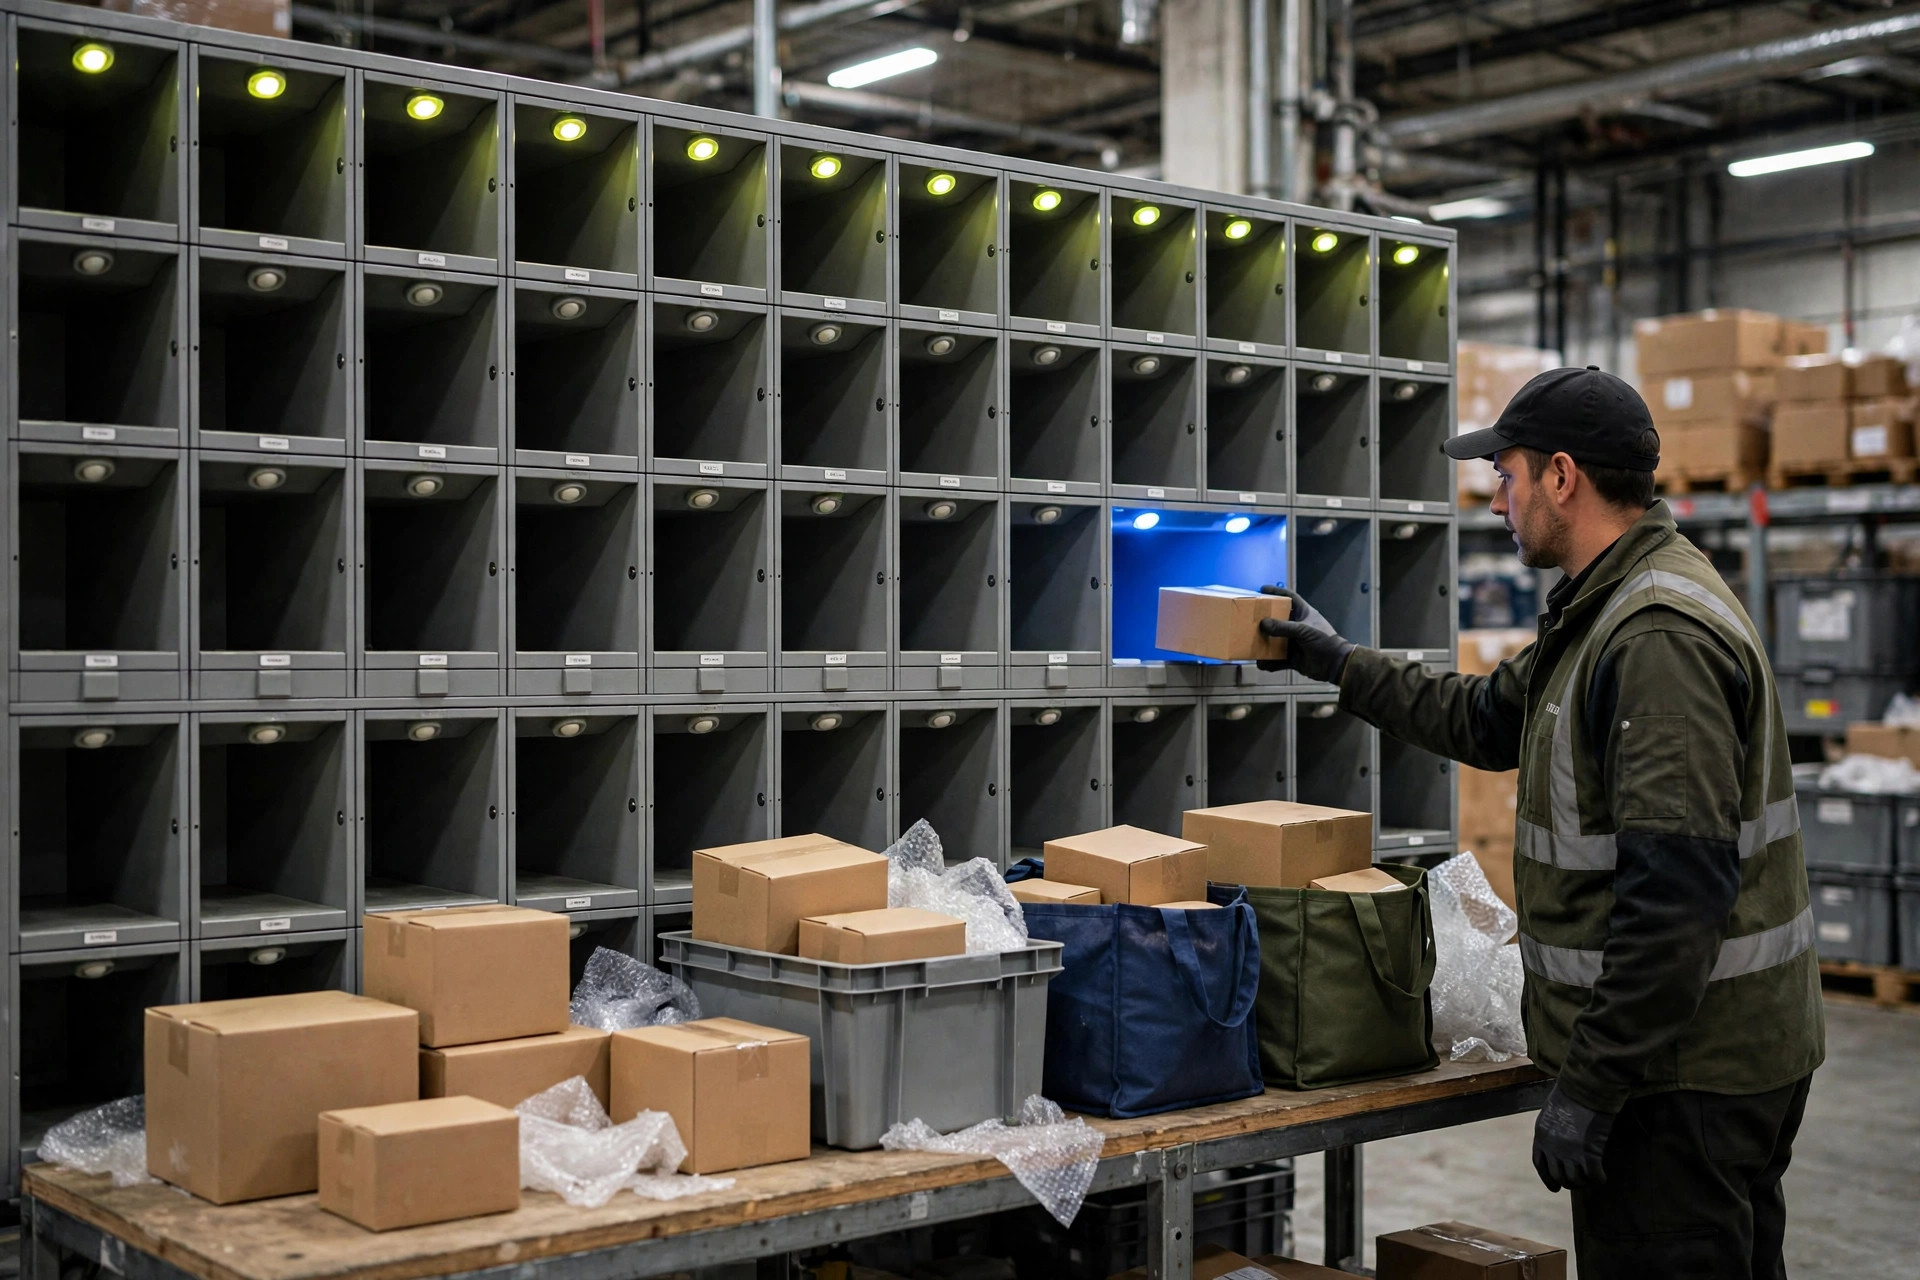
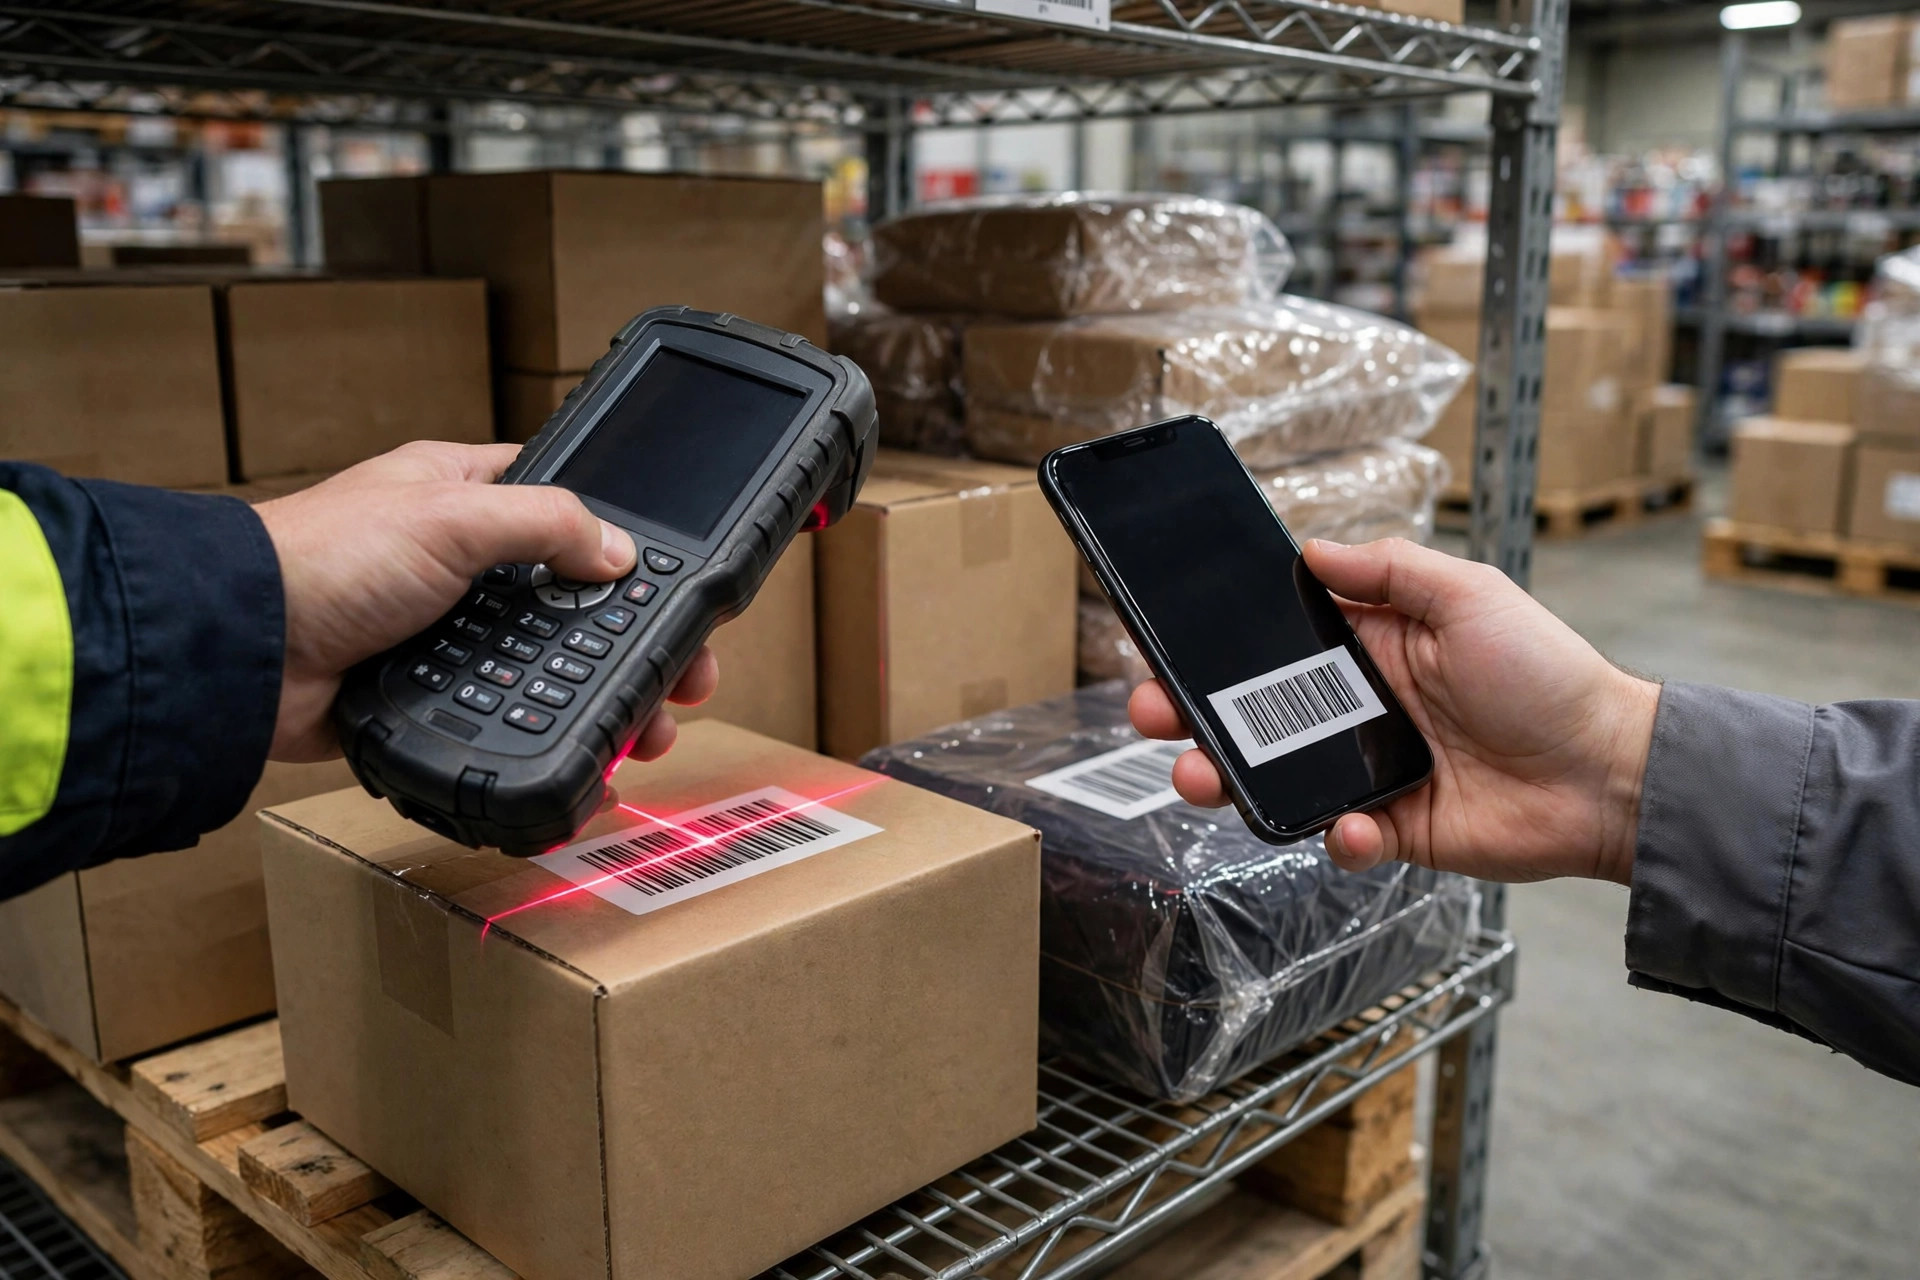
- Put confirmation. Standard flow: operator scans the item, the destination cubby lights, operator puts and presses the button to confirm. The spec questions: does a short put (scanned 3, put 2) exist in your process? What happens on a mis-scan of an item that belongs to no order in this wave? Each answer is a software behaviour, not a hope.
- Cubby clear / pack-out handshake. When the last line lands, the cubby's rear light signals pack-out. After the packer clears it, the cubby must return to the free pool immediately — lag here silently shrinks your wall.
- Exception flows. Short pick, damaged item, oversized item that fits no cubby, order cancellation mid-wave. Each needs a defined route that does not involve an operator inventing one at 2 a.m.
- Reporting. Puts per labour hour, mis-put rate, cubby dwell, and wave close-out time should come out of the system from day one. If the vendor's dashboard cannot show dwell time, you will manage the wall blind.
Allow integration and testing to take at least as long as hardware installation in the project plan — in my projects it usually takes longer, and compressing it is the single most common cause of a rough go-live.
Step 4: What "Advanced" Put-to-Light Actually Adds
Basic put-to-light is one light-plus-button per cubby. The features sold under "advanced put-to-light wall technology" are worth separating into genuinely useful and merely shiny:
- Quantity displays per cubby (a small numeric display showing how many units to put): genuinely useful when multi-unit puts are common; removes the count-from-the-pick-list error class.
- Multi-colour lights: useful when two operators work one wall — each operator follows their own colour. On a one-operator wall it is decoration.
- Full-cubby and weight checks: sensors or scale checks that catch a put into an already-cleared cubby. Useful at high volume; see the high-volume sorting wall guide for when this starts to matter.
- Cubby displays showing order status / pack priority: useful when pack-out is the constraint and you want hot orders swept first.
Buy the features that map to an error class you actually have. Your mis-put log from the manual process is the shopping list.
Step 5: Testing, Parallel Run, and Cutover
Test with your ugliest real orders, not the demo set: multi-line orders, a short pick, an oversized item, a cancelled order mid-wave, and a full-wall wave. Every exception flow from Step 3 should be executed at least once by the operators who will run the wall — not watched in a vendor demo.
A short parallel run — one or two waves a day on the new wall while the old process carries the volume — surfaces integration issues at low stakes. Cut over at the start of a low-volume day, with the vendor's engineer and your WMS support both reachable, and keep the manual fallback (printed put lists and your old sort table) physically in place for the first weeks.
Acceptance Checklist
Do not sign acceptance on "the lights turn on." Sign when these pass, on your orders, with your operators:
| Check | Pass condition |
|---|---|
| Cubby assignment | No order double-assigned or orphaned across a full test day |
| Put accuracy | Mis-put rate at or better than your manual baseline over the parallel run |
| Exception flows | Short, damaged, oversized, and cancel cases all route correctly without supervisor improvisation |
| Dwell visibility | Cubby dwell and puts/hour visible in reporting, live |
| Pack-out handshake | Cleared cubbies return to the free pool with no manual step |
| Fallback | Wall-down procedure printed, posted, and executed once in a drill |
A put wall is not complicated equipment. The projects that fail treat setup as furniture delivery; the ones that succeed treat it as a small systems project with a wall attached. Plan the integration, mock up the ergonomics, test the exceptions — and the go-live becomes the boring day it should be.
By Da Liu, Automation Engineer