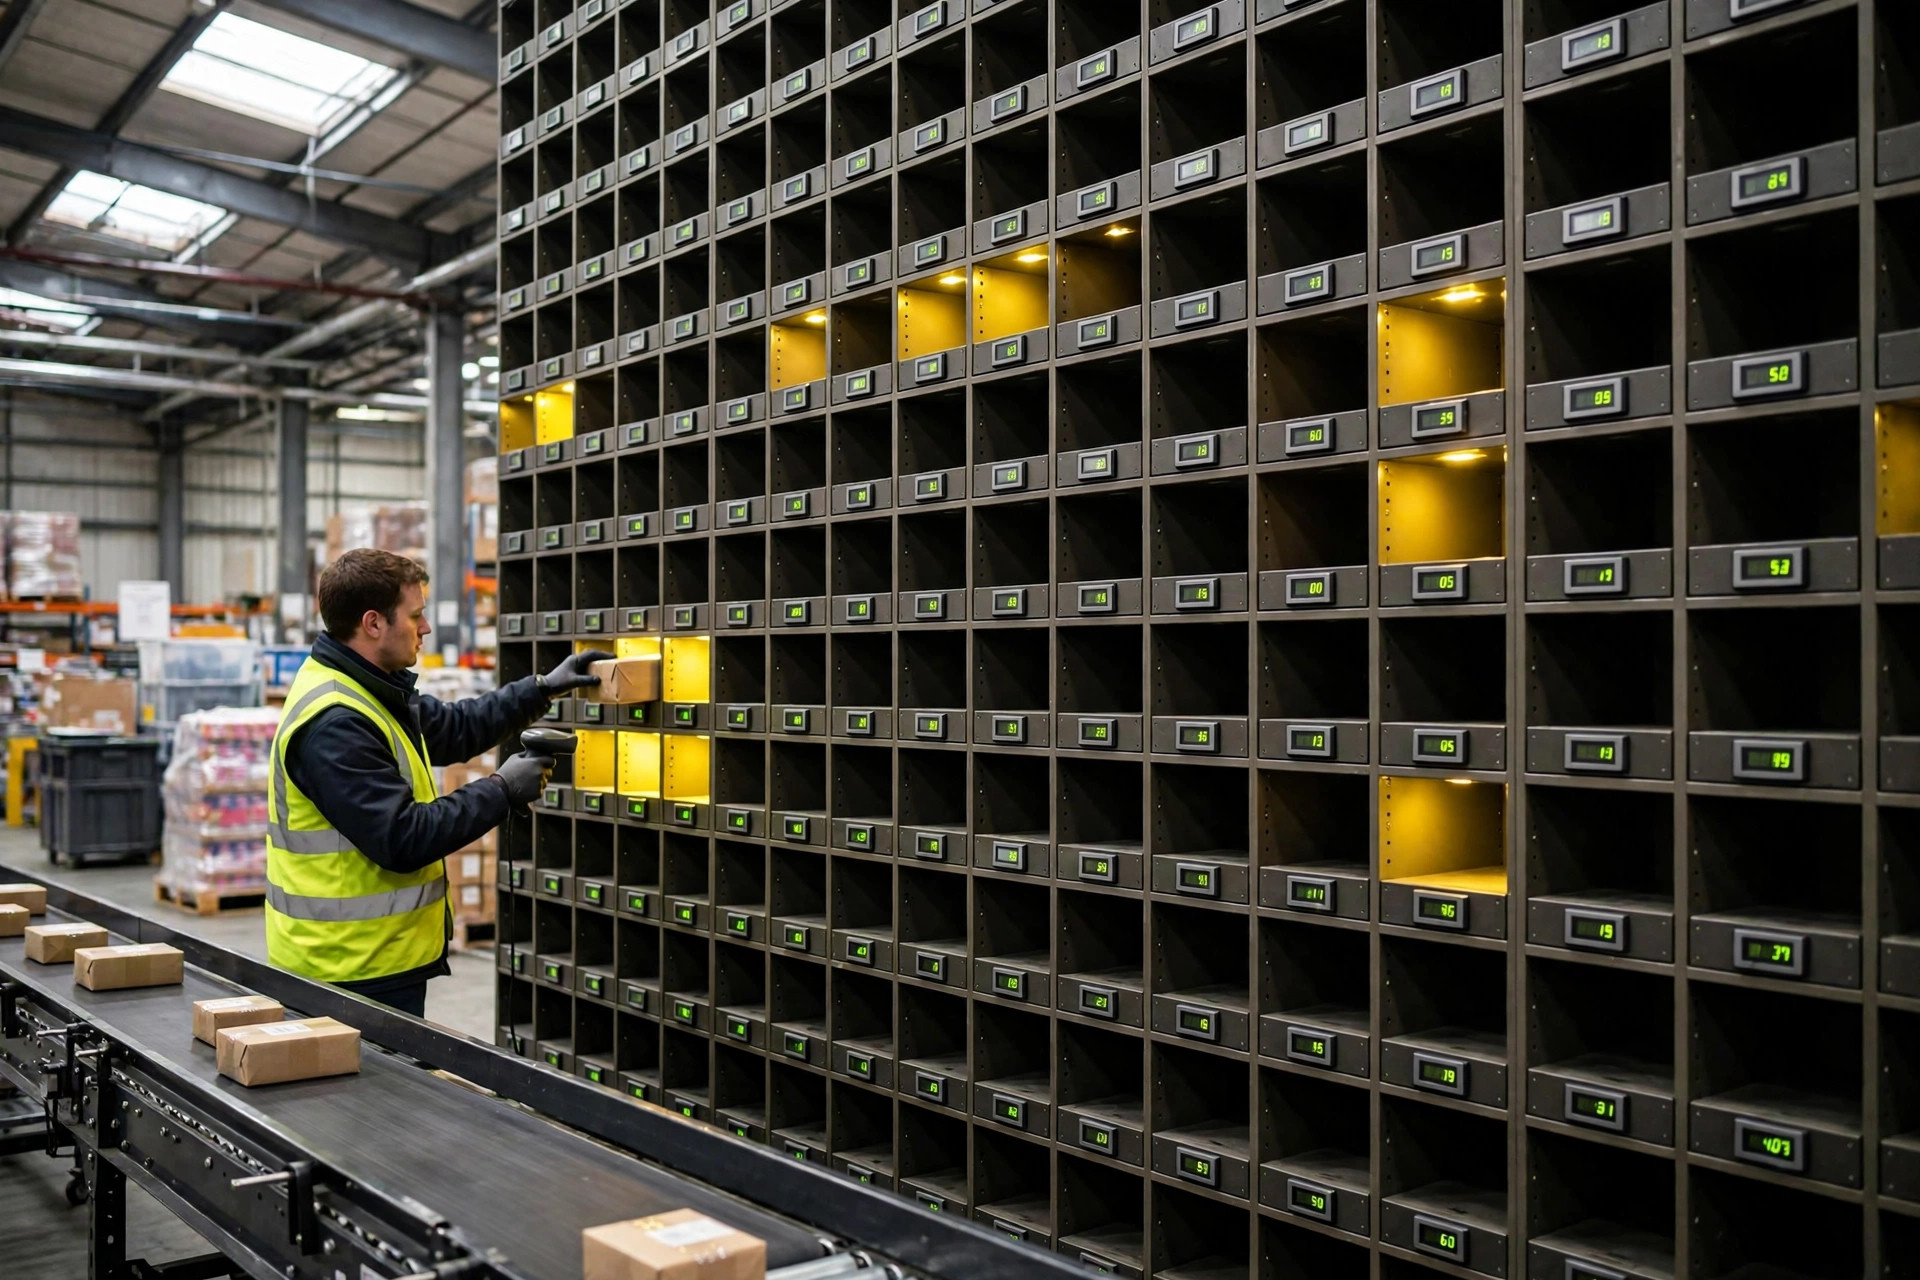
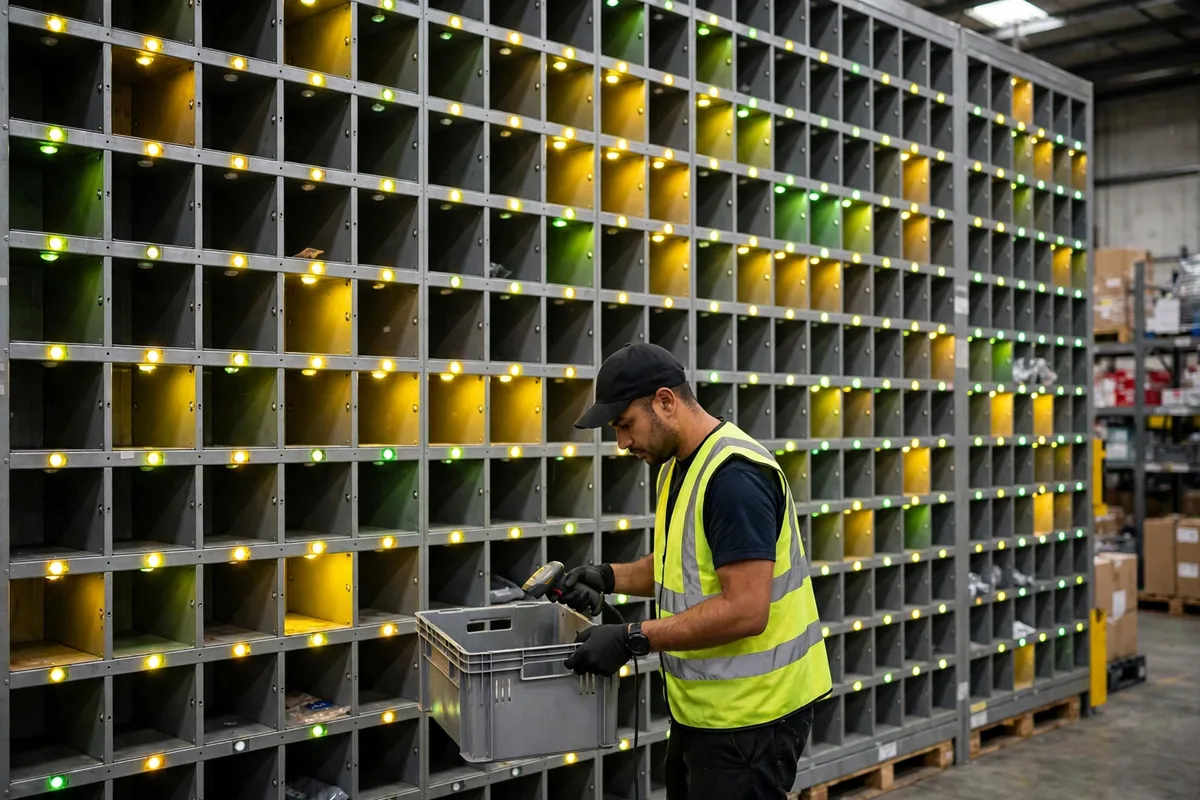
Here is the conclusion first, because the first week leaves no room for suspense: automated put wall setup stands or falls on a single test. The cubby the light points to, the order the scanner reads, and the cubby the WCS records must be the same cubby. If those three disagree, higher throughput only produces more mis-sorts, more rework, and a more expensive mess. Every item on the go-live-night checklist exists to pin those three together before volume arrives.
Why start there? Because put-wall failures are rarely “the equipment broke.” They are almost always “the mapping was wrong.” The light controller holds one table, the WCS holds a second, and the labels on the wall hold a third. If any one is shifted, the operator following the light throws stock into the wrong cubby with complete confidence. I have seen this pit three times, each time looking different: a light on a cubby that was already full, with nothing stopping the operator; a scan that passed while only the first item of a multi-item order was validated; and the most deceptive case, lights and scans both correct, but a WCS completion message lagging half a beat, so the next wave released early and buried the previous wave's tail units in the same cubby. Three symptoms, one root cause: nobody had walked the wall cubby by cubby, order by order, signal by signal before go-live.
The checklist below is the version I actually walk through on go-live night. Follow it in order. Do not skip steps.
Automated Put Wall Setup Step One: Reconcile the Cubby Map
Step one is not switching anything on. It is reconciling tables. Lay four things side by side: the design drawing cubby numbers, the light-controller channel addresses, the WCS cubby configuration, and the physical labels on the wall. Light each cubby in turn and check all four: lighting cubby 001 in the WCS must light the lamp carrying the 001 label, on the 001 channel. A 48-cubby wall takes one person roughly one to two hours for this alone. It feels slow. Skipping it means doing every later test on a wrong foundation.
In winter 2023, at a beauty-products warehouse in Shanghai, this step caught the problem before it could do damage. The wall had 72 cubbies: the drawing numbered them in a serpentine pattern, the light controller was supplied in straight-line order, and the site team had relabelled the wall again by operator standing position. Three numbering schemes, each internally consistent, each disagreeing with the others, and the light-up test showed more than 20 cubbies out of place. Had the site gone straight to volume, at least three in ten units in a first wave of 2,000 orders would have landed in the wrong cubby. The fix follows one rule: the WCS configuration is the single source of truth, light addresses and labels are corrected to match it, and the full test runs again until all 72 cubbies pass with zero mismatches.
Two details in cubby calibration get missed most often. First, full-cubby thresholds: how many units each cubby holds, how the light changes when it is full, and how the system blocks further puts must be set cubby by cubby, not as one global default, because large-item and small-item cubbies do not share a sensible limit. Second, size-to-order matching: whether oversized orders are barred from small cubbies, and whether that bar lives in the WCS or relies on the operator noticing, must be written down on the checklist. “The operator will see it” is not a control.
Automated Put Wall Setup Step Two: Scan, Light and WCS in One Loop
Only after the map is reconciled does joint testing begin. Run it in this exact sequence: single-item scan, light on, put, full cubby, clear cubby, confirmation back to the WCS — and watch the WCS state change at every step.
Start with scan validation. Take a multi-item order through the whole flow: scan the first item and the light comes on; scan the second item and the light must stay on the same cubby, not jump; scan an item that does not belong to this order and the system must alarm immediately, not accept it quietly; scan an item already put and the system must flag a duplicate, never count it twice. The second pit I mentioned above failed exactly here: the second item was never checked against the order, so an operator dropped a neighbouring order's item into the cubby and the system recorded a clean completion.
Next, test the light-mapping edge cases. After a power restart, does the light controller's restored cubby state match the WCS? After a wave ends, do uncleared cubbies stay lit or flash, and does everyone on the floor read that signal the same way? If an operator presses clear by mistake, can the WCS undo it? None of these are “deal with it later” questions, because the first week will ask all of them daily, and anything not on the checklist gets answered by shouting across the floor.
Finally, test WCS timing. Measure three delays in the real system: scan to light, put confirmation to WCS state update, and full-cubby signal travelling from the wall to the WCS and then to the block on the next wave. A delay by itself is not frightening; an unmeasured delay is. Write each measured delay on the checklist, and flag anything over two seconds in red: it usually means a network problem, or an interface polling when it should be pushing events. Where the interface behaviour is uncertain, trust the vendor interface document and the measured result on site, never a feeling that it “should be fast.”
In summer 2024, at a footwear warehouse in Guangzhou, I caught a timing fault by watching the WCS log rather than the wall: the clear-cubby confirmation arrived about one second before the cubby was actually empty, so the system released the next wave early while the operator still held tail units from the previous wave. The fix required two conditions before release — a sensor confirming empty plus a manual confirmation — neither alone sufficient. Joint testing must cover the failure paths — early, duplicate, mistaken — not only the happy path.
First-Week Acceptance: What Automated Put Wall Setup Must Prove
Once joint testing passes, the first-week acceptance measures are only four, filled in at the end of every shift:
| Measure | First-week reference bar | How it is counted |
|---|---|---|
| Wrong-cubby rate | Below 0.5 percent | Units found in a cubby against the wrong order, divided by total units put |
| First-scan pass rate | Above 99 percent | Units passing on the first scan, divided by total scans |
| Full-cubby block success | 100 percent | Full-cubby events correctly blocked, divided by full-cubby events |
| WCS state mismatches | Zero tolerance, cleared daily | Occasions where wall state disagrees with the WCS record |
Of those four, full-cubby blocking and state mismatches allow no negotiation. A speed measure, such as units put per hour, is recorded in week one but not used as a target. Pin accuracy first and raise speed in week two. Reverse that order and the better week one looks on speed, the worse the rework bill looks in week two. That is the counter-intuitive judgement at the heart of this checklist: the first week should deliberately run slower, because slow is what makes fast possible later.
On the broader question of how secondary sortation should be structured, the business case is about order profiles, wave cutting and the checking step. But however sound that design is, it only pays out on the floor if this checklist holds: lights, scans and WCS aligned. Misaligned, even the best sortation strategy just runs faster into the wrong cubby.
Run the common failure points one last time against the checklist before sign-off: cubby maps reconciled across three tables before volume; multi-item orders validated beyond the first item; full cubbies blocked by the system, not by a light colour alone; clear-cubby release requiring more than one signal; interface delays measured, not assumed; week one judged on wrong-cubby rate, not on speed. If any one of those six is open, week one will not be quiet. Every item ticked, signed and backed by measured data — that is what a go-live-night checklist is supposed to look like.
By Lin Xiao, WMS Implementation Consultant