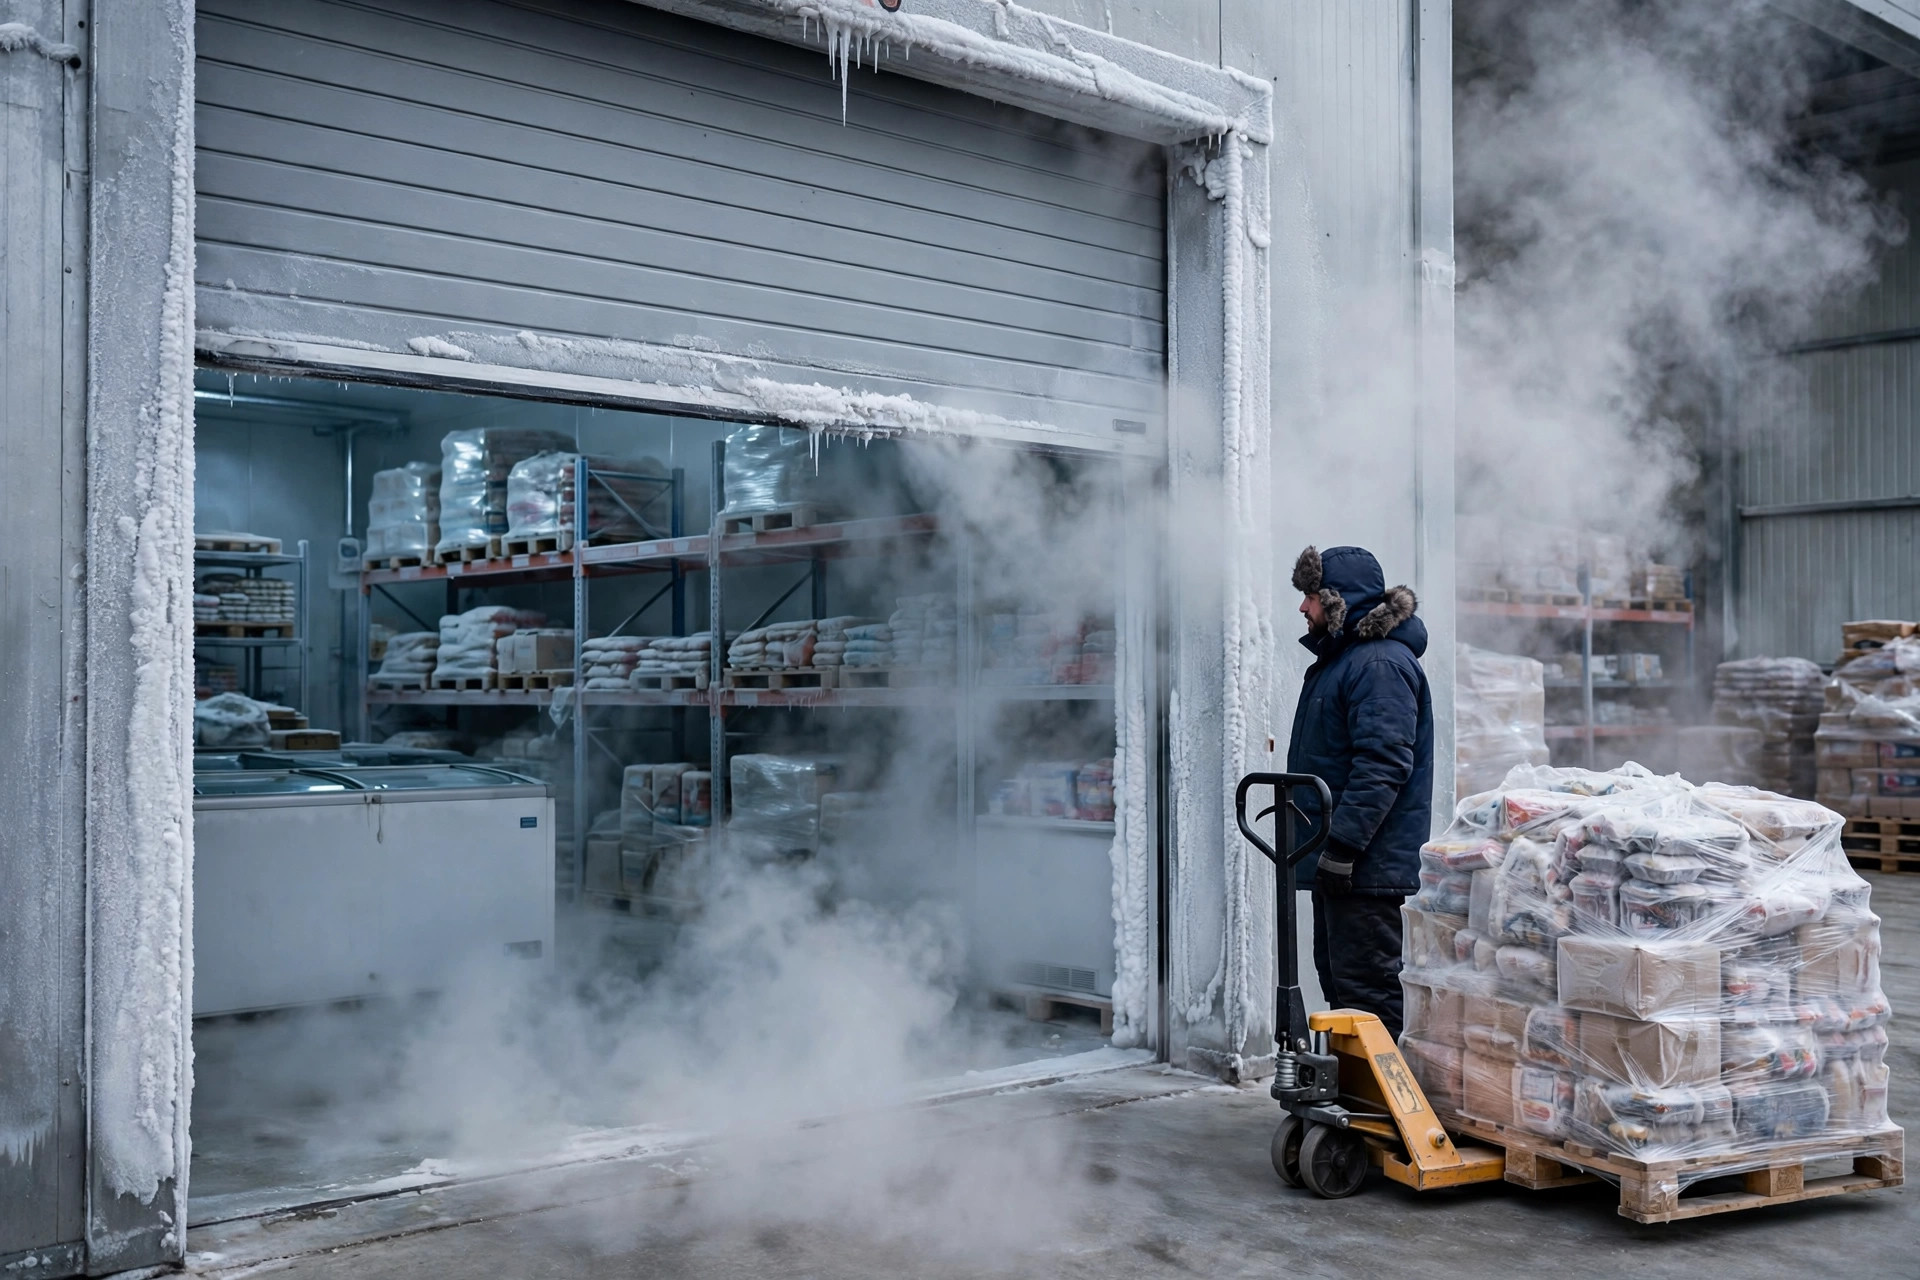
High speed freezer doors rarely die from a burned-out motor. They die from frost, one millimeter at a time. A door that cycles several hundred times a day lives with one side at deep sub-zero temperatures and the other side facing a humid loading dock. All that stands between the two is a ring of rubber, a heating cable in the frame, and a sensor telling the door when to move. When any one of those three lets go, moisture gets in, frost builds up, and the door stops sealing. Then the frost makes the seal worse, which lets in more moisture. It is a loop, and once it starts, it only runs one direction.
Think of it like a refrigerator door left ajar, except the stakes scale up fast. A home fridge leaking cold air costs you a little electricity. A freezer door leaking cold air costs you compressor runtime, drifting room temperature, ice on the floor by the doorway, and a slip hazard every time a forklift rolls through. You can understand the whole maintenance problem as a fight against that one gap: keep the seal tight, keep the frame above the frost point, and keep the door's open time as short as possible.
Where High Speed Freezer Doors Actually Frost First
When I get called to a frosting door, I check things in a fixed order, and it almost never wastes a trip. Seals first. Run a hand around the frame, paying attention to the bottom edge and both lower corners, where water collects and freezes first. A seal can look intact and still be done: what matters is compression, not appearance. Close the door on a thin slip of paper and try to pull it out. If it slides out easily, that section is no longer pressing tight. You cannot see lost compression. You have to test for it.
Heaters second. A broken frame heater is the most common frost source I see, and it usually breaks in one section rather than failing outright. The tell is a frost pattern that covers only part of the frame while the rest stays clean. Walk the frame with an infrared thermometer and the cold section will show itself. Heater cables hate water and bending. A cable pinched during installation or pried during a repair can carry a weak point for months before it finally opens.
Sensors last. Sensor drift is sneaky because nobody on the floor notices it. The door opens a beat slower, or waits an extra second or two before closing. Nobody feels two seconds. But multiply it by several hundred cycles a day and you have added tens of minutes of open time, every single day, with humid dock air pouring in the whole time. Sensors do not like dust, condensation, or a bracket knocked crooked by a pallet jack. Move the bracket a little and the detection range changes with it.
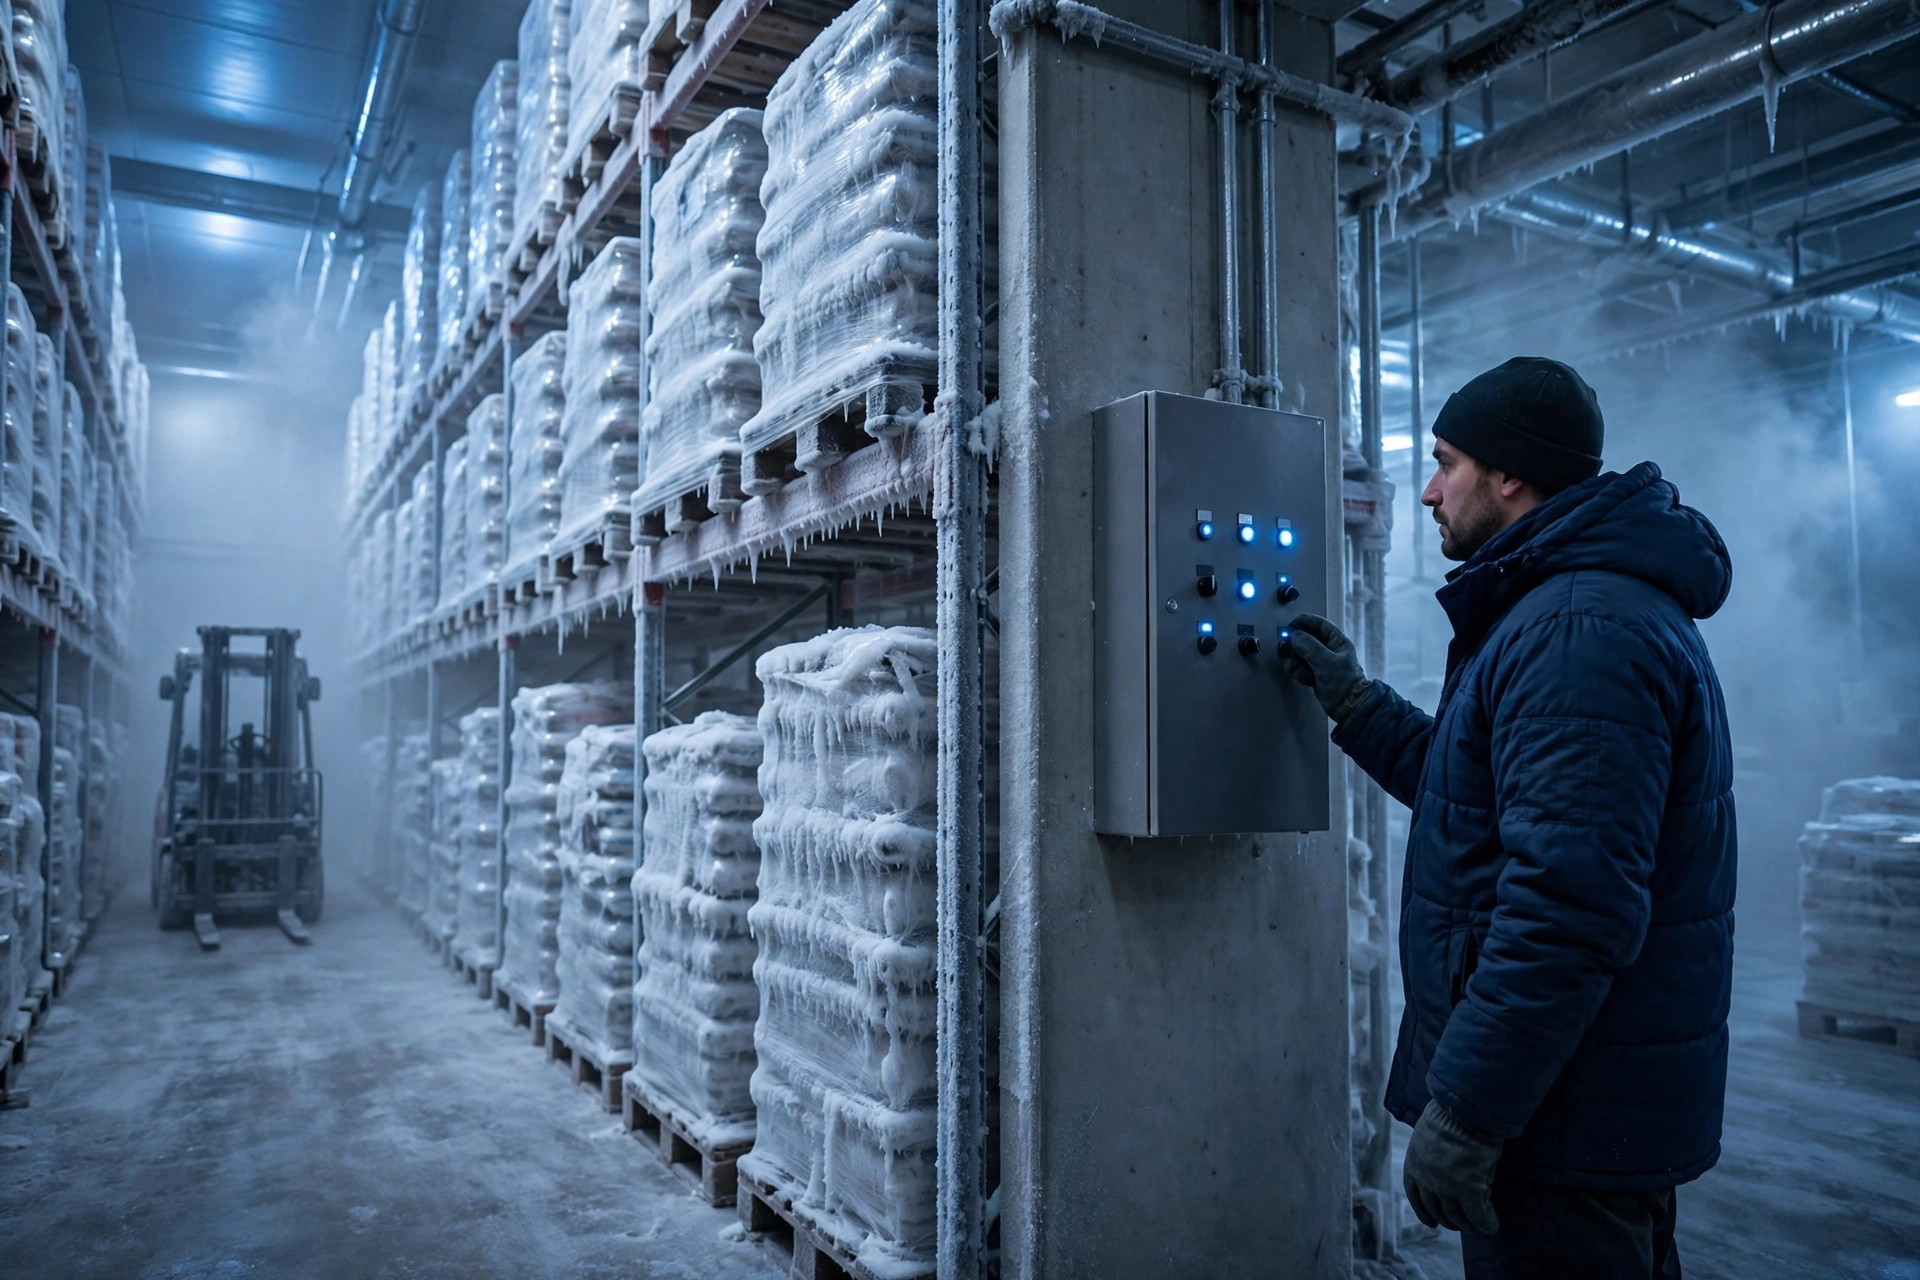
In the winter of 2023 I walked into a frozen-food warehouse outside Chicago, a room held around minus twenty-two degrees, where the bottom of a door frame had grown a thick shelf of ice. The maintenance crew had already replaced the seal twice. It did nothing. A thermometer run around the frame showed one section running far colder than the rest, right at the lower corner. The heater cable had opened there. We replaced that section of cable and the ice was gone within three days. The seal had been taking the blame for a heater problem all along.
A different failure showed up in the summer of 2024 at a fresh-food distribution site near Los Angeles. The complaint was water on the floor by the doorway and forklifts slipping. The seal was fine and the heater tested fine. The culprit turned out to be a floor-loop sensor bracket that a pallet jack had knocked sideways, so the door waited until each vehicle had fully cleared before closing, two or three seconds longer than normal. Summer dock air is humid, and two or three seconds times four hundred cycles a day is a lot of moisture. We straightened the bracket, recalibrated the detection range, and the water stopped.
Seals, Heaters, and Sensors: What Fails First
These three parts do not live on the same clock, so their repair math should not be lumped together. Seals are consumables. Against the cycle ratings vendors publish, expect roughly one to two years before replacement, and the swap itself is quick, typically under an hour with minimal door downtime. Heater cables last longer, but replacing one means opening up the frame, which takes longer and forces you to wait for room temperature to stabilize afterward. Sensors themselves rarely fail; what fails is the bracket, the cable, or the calibration, which makes the parts cheap but the diagnosis slow, because the symptoms mimic a seal problem or a heater problem.
Run the time math on sensor drift and the cost becomes obvious. Take a door cycling four hundred times a day. Add three seconds of extra open time per cycle and you have added twenty minutes of open door per day. Every minute of that is humid air entering a sub-zero room, and all of it ends up as frost on the frame or extra load on the compressors. Fix the calibration and you have recovered that time without buying a single part. That is the cheapest repair in this whole article, and it is the one most sites skip.
| Part | Typical symptom | Check first | Repair cost profile | | Seal | Draft at the gap, frost on the lower edge | Paper-pull test for compression | Consumable, shortest labor | | Heater cable | Frost on one frame section only | Thermometer sweep around the frame | Frame work, longest labor | | Sensor | Slower opening, delayed closing | Bracket position and detection range | Cheap parts, slow diagnosis |
Here is the counterintuitive part: a faster door is not automatically a tighter door. Plenty of sites crank the opening speed to maximum, assuming faster means less cold loss. What actually determines cold loss is total open time, not single-cycle speed. Run at maximum speed and the door slams harder, the seal wears faster, and the sensor bracket takes more vibration. Setting speed in the middle of the vendor's published range, with a crisp close and no hesitation, usually loses less cold than running flat out. Between fast and tight, tight wins every time.
If you have not picked a door yet, get the selection decision right before worrying about maintenance, because door construction, speed rating, and insulation decide how often these three parts will fail on you. I covered how to match those choices in this high speed freezer door selection guide, and it is worth reading before you sign off on a new door.
Repair or Replace High Speed Freezer Doors: Run This One Number
Whether to repair or replace a door should not be a gut call. I look at one number: how many times the same part has failed in the past year. A seal replaced twice a year is normal consumable wear, so keep replacing it. A heater cable that opens twice in one year, or a sensor that drifts out of calibration every few months, tells you the problem is not the part. It is the door construction, the installation, or the duty cycle, and throwing more parts at it is pouring money into a hole.
The inspection rhythm can stay simple enough that people actually do it. Once a week, the operator on shift does a paper-pull test and a visual check for local frost or floor moisture. Once a month, a technician sweeps the frame with a thermometer and checks sensor brackets for impact damage. Once a quarter, someone totals the cycle count and the repeat-failure record and applies the rule above. An inspection sheet that fits on one page gets filled in. A five-page form does not.
So here is the verdict, in the form I always give it: this money is well spent or not based on one number. If the same part fails more than twice in a year, replacing the door is cheaper than repairing it. Below that line, keep swapping consumables and recalibrating sensors, and do not let anyone talk you into a full door replacement you do not need yet.
By Da Liu, Automation Engineer