Our little warehouse cannot afford to burn money like that. That is the first thought in my head every time someone says the racking needs to change.
Here is what happened. Last summer we took on a new customer selling bulky home goods, and their cartons were a good deal taller than the everyday products we used to store. When the freight arrived, I just stared at it: the old beam height would not fit the new cartons at all, and forcing them in would have jammed the top cartons against the beam above. Sales said it lightly on the phone: "Just move the beam up a notch, right?" I said, my friend, moving a beam one notch pulls a whole chain of work behind it.
Let me lay out our predicament first, because that is where small warehouses live. We are not big. We have a handful of rack rows and a crew of about seven or eight people who handle picking, putaway, and shipping between them. Rack beam repositioning sounds like a small job, but once you start, the whole row has to stop. Stop for a day and orders ship a day late. Push ahead without stopping and you risk something worse. Big companies have engineering teams and spare rack locations. We do not. We had to figure out for ourselves: how do you move beams without stopping too long and without cutting corners?
Here is a counterintuitive point to start with: moving the beam is not the slow part. The slow parts are clearing the goods before the move and checking everything after it. A skilled worker can lift several beams in half an hour, but clearing stock, verifying the work, and updating the load plates can eat most of the day. If you only budget time for lifting beams, you will underestimate the downtime window every single time.
Rack beam repositioning: clear first or move first?
The first decision in any rack beam repositioning job is the order of work. Ours is fixed: clear the goods first, move the beams second, verify last. Never the other way around.
In practice, that means moving everything off the row you plan to change into temporary locations or open floor space. While you clear, take the chance to review the stock: what should have been cleared out anyway, and what could move to a more convenient location while it is already in motion? Do not underestimate this step. If the cleared goods have nowhere to go, you end up halfway through the move with cartons stacked in the aisle and forklifts unable to pass. That is a real mess.
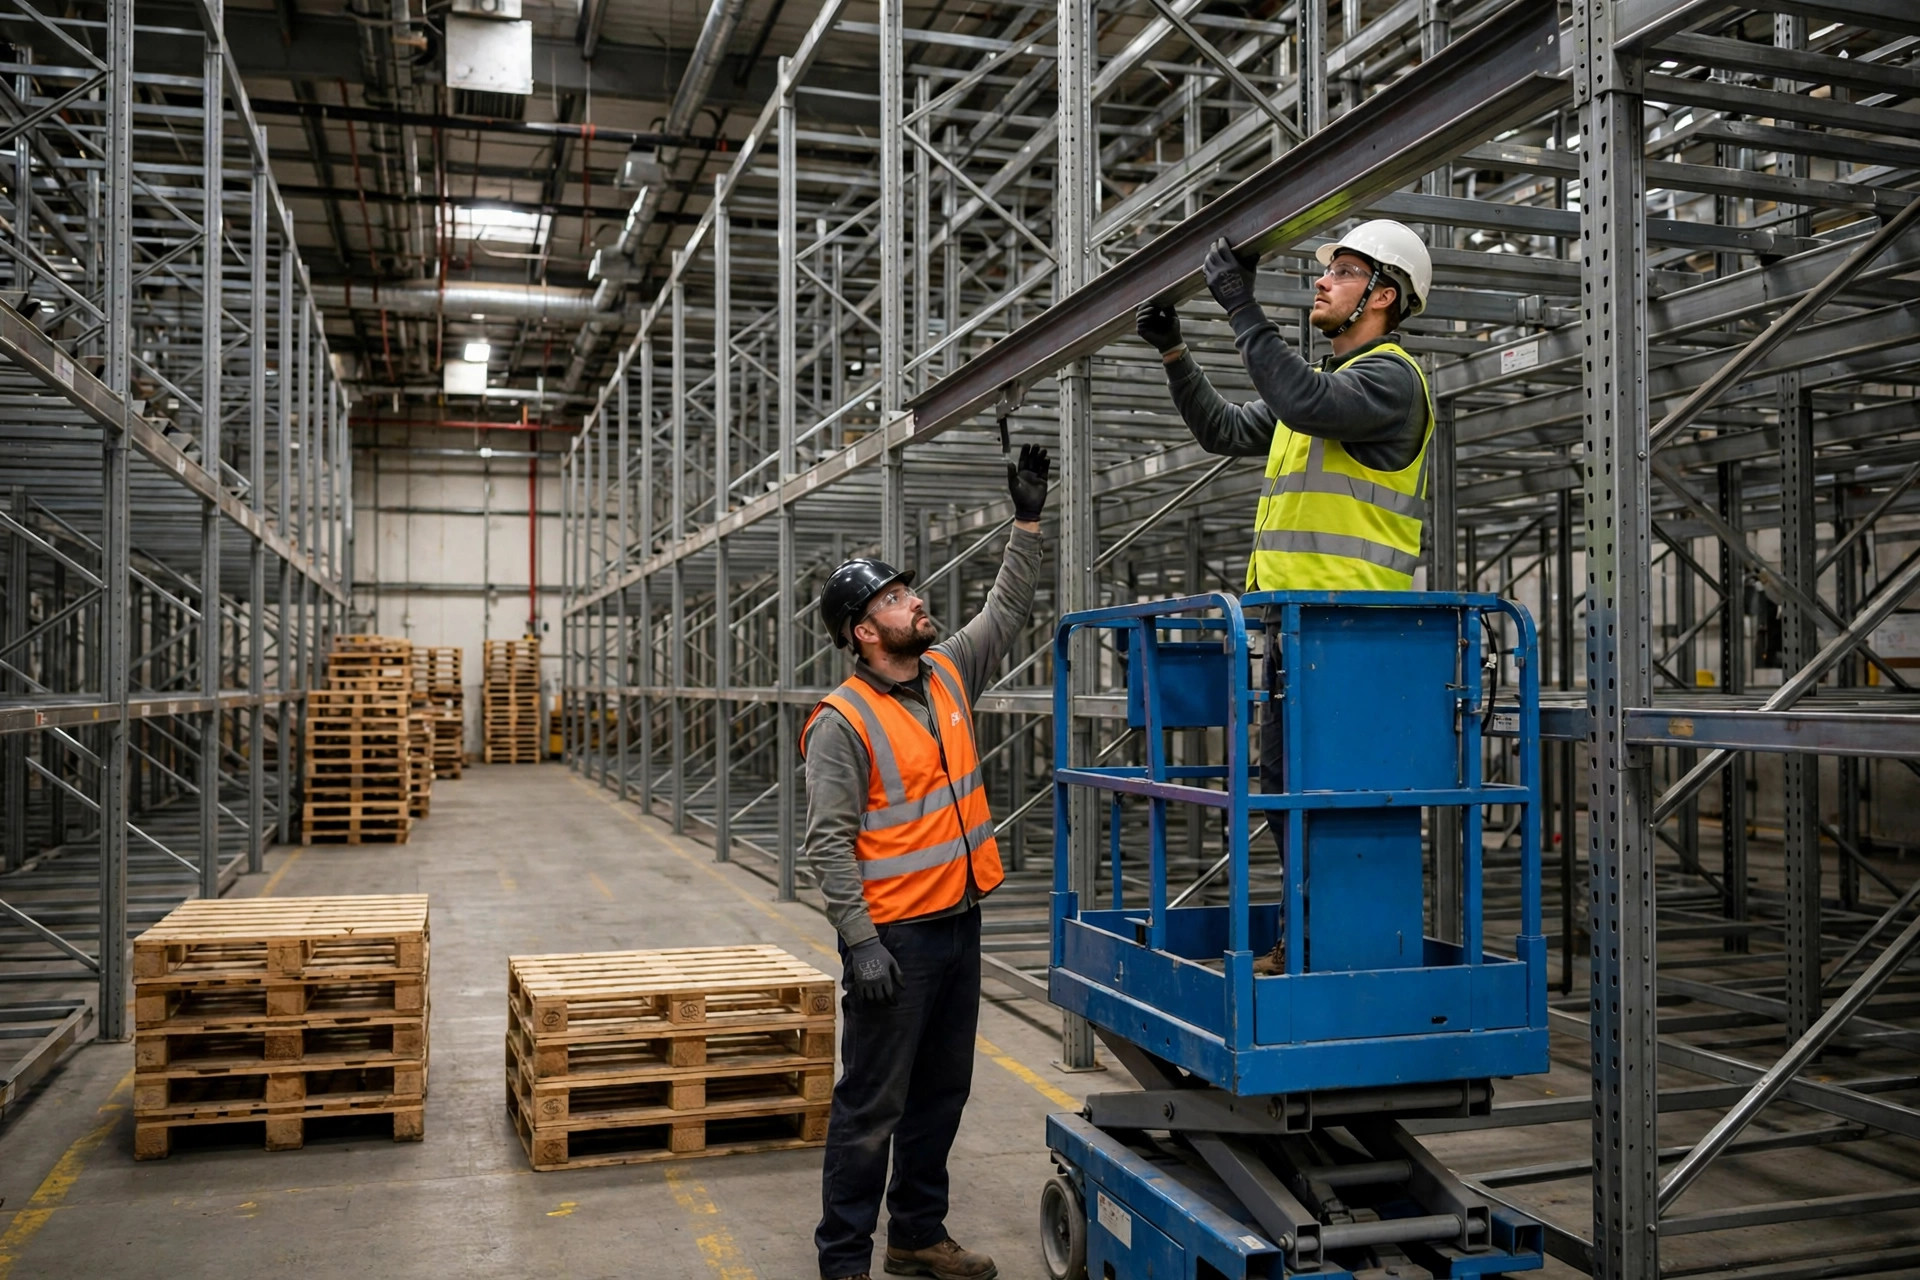
Once the row is clear, move the beams. Two people work together: one holds the beam, the other lines up the holes. The beam connectors must seat fully, and you should hear and feel the click before you call it done. Never rush this. A beam seated on one side and hanging on the other is not seated at all. We learned that the hard way once, when a beam went in crooked because we rushed, and it tilted the moment weight went on it. Luckily nothing heavy was on it yet. Since then we have a hard rule: after moving a beam, give it a shake by hand. If it does not move, it passes.
Here is a homegrown method that suits a small warehouse well: move one row at a time, verify that row, then start the next. Do not tear down three rows at once because it looks faster. If something goes wrong in the middle, the whole warehouse stops. One row at a time looks slower, but it keeps the rest of the warehouse running and orders moving.
Planning the downtime window without killing shipments
The downtime window is the hardest part for a small warehouse. Our method is simple: pick the quietest shipping period, and warn customers in advance.
For us, that meant working on a weekend morning. On Friday we picked the weekend orders early. On Saturday morning we shipped first, then started moving beams. The row we planned to change had stopped receiving new stock two days earlier, so it emptied out naturally and clearing took much less work. And the night before the move, we laid out every tool, connector, and hard hat we would need, so nobody was hunting for a wrench after work had started.
There is another cost in the downtime window that people often skip: when one row is out of service, it is not just that row's storage you lose, it is the extra walking for pickers. Goods moved to temporary spots mean longer picker routes, so productivity drops. That is why the window should be as short as possible, but never so short that verification gets skipped. Time saved by skipping checks gets paid back later, usually with interest, in an incident.
After rack beam repositioning: load plates and the safety check
When the beams are moved, do not rush to reload. Two things come first: update the load plates, then run the safety check.
Beam height changes what each level can hold, and the row's overall loading picture changes with it. Load plates are not decoration. They are calculated from the beam type, span, and height. Change the height and the loading changes. Our rule is to check the manufacturer's load plate and manual for the new height, confirm whether the capacity changed, and replace the plate if it did. Peel the old one off. Two plates on the same row will mislead someone sooner or later. If anything is unclear, follow the manufacturer's guidance and the applicable standard rather than guessing.
What does the safety check cover? We keep a short list: every beam connector fully seated, no beam tilted or twisted, no old forklift damage on the uprights, and no floor damage where cleared goods were stacked too heavily. Two people do it: one inspects, one records, and both sign off. It feels fussy, but the signature is the point. It says this row was checked by someone who takes responsibility for it.
One more thing people forget: after a height change, check whether the forklifts can still reach. Cartons that used to sit low now sit higher. The mast needs to lift higher, and the aisle needs to be wide enough for the lift at that height. Test it before the goods go back, not after, when you discover the forklift cannot reach the top level.
How did it turn out? Honestly, the first time we moved beams, it took a whole weekend to finish two rows. Slow, yes. But those two rows have given us no trouble since, and the new customer's goods fit cleanly. The more we did it, the smoother the routine became, and the downtime window kept shrinking.
There is one follow-up job people forget after moving beams: update the location data. Beam height changed, so the carton sizes each location can take changed too. If the system still shows the old height and weight limit, pickers will follow the old information, arrive at the location, and find the carton does not fit. Then it is back and forth all over again. Our rule is to update location height, weight limit, and suitable carton size in the system on the same day we sign off the check, and to walk the crew through the changes verbally before work starts the next morning. If the system and the floor disagree, the move was wasted.
My advice to other small warehouses comes down to three points. First, keep the order straight: clear, then move, then verify. Second, plan the downtime window ahead instead of improvising. Third, never skip the load plate or the safety check. The time you save by skipping them is borrowed time. Small warehouses have their own way of surviving, and even the scrappiest method still has to pass the safety test.
By Xiao Ma, Small Warehouse Owner