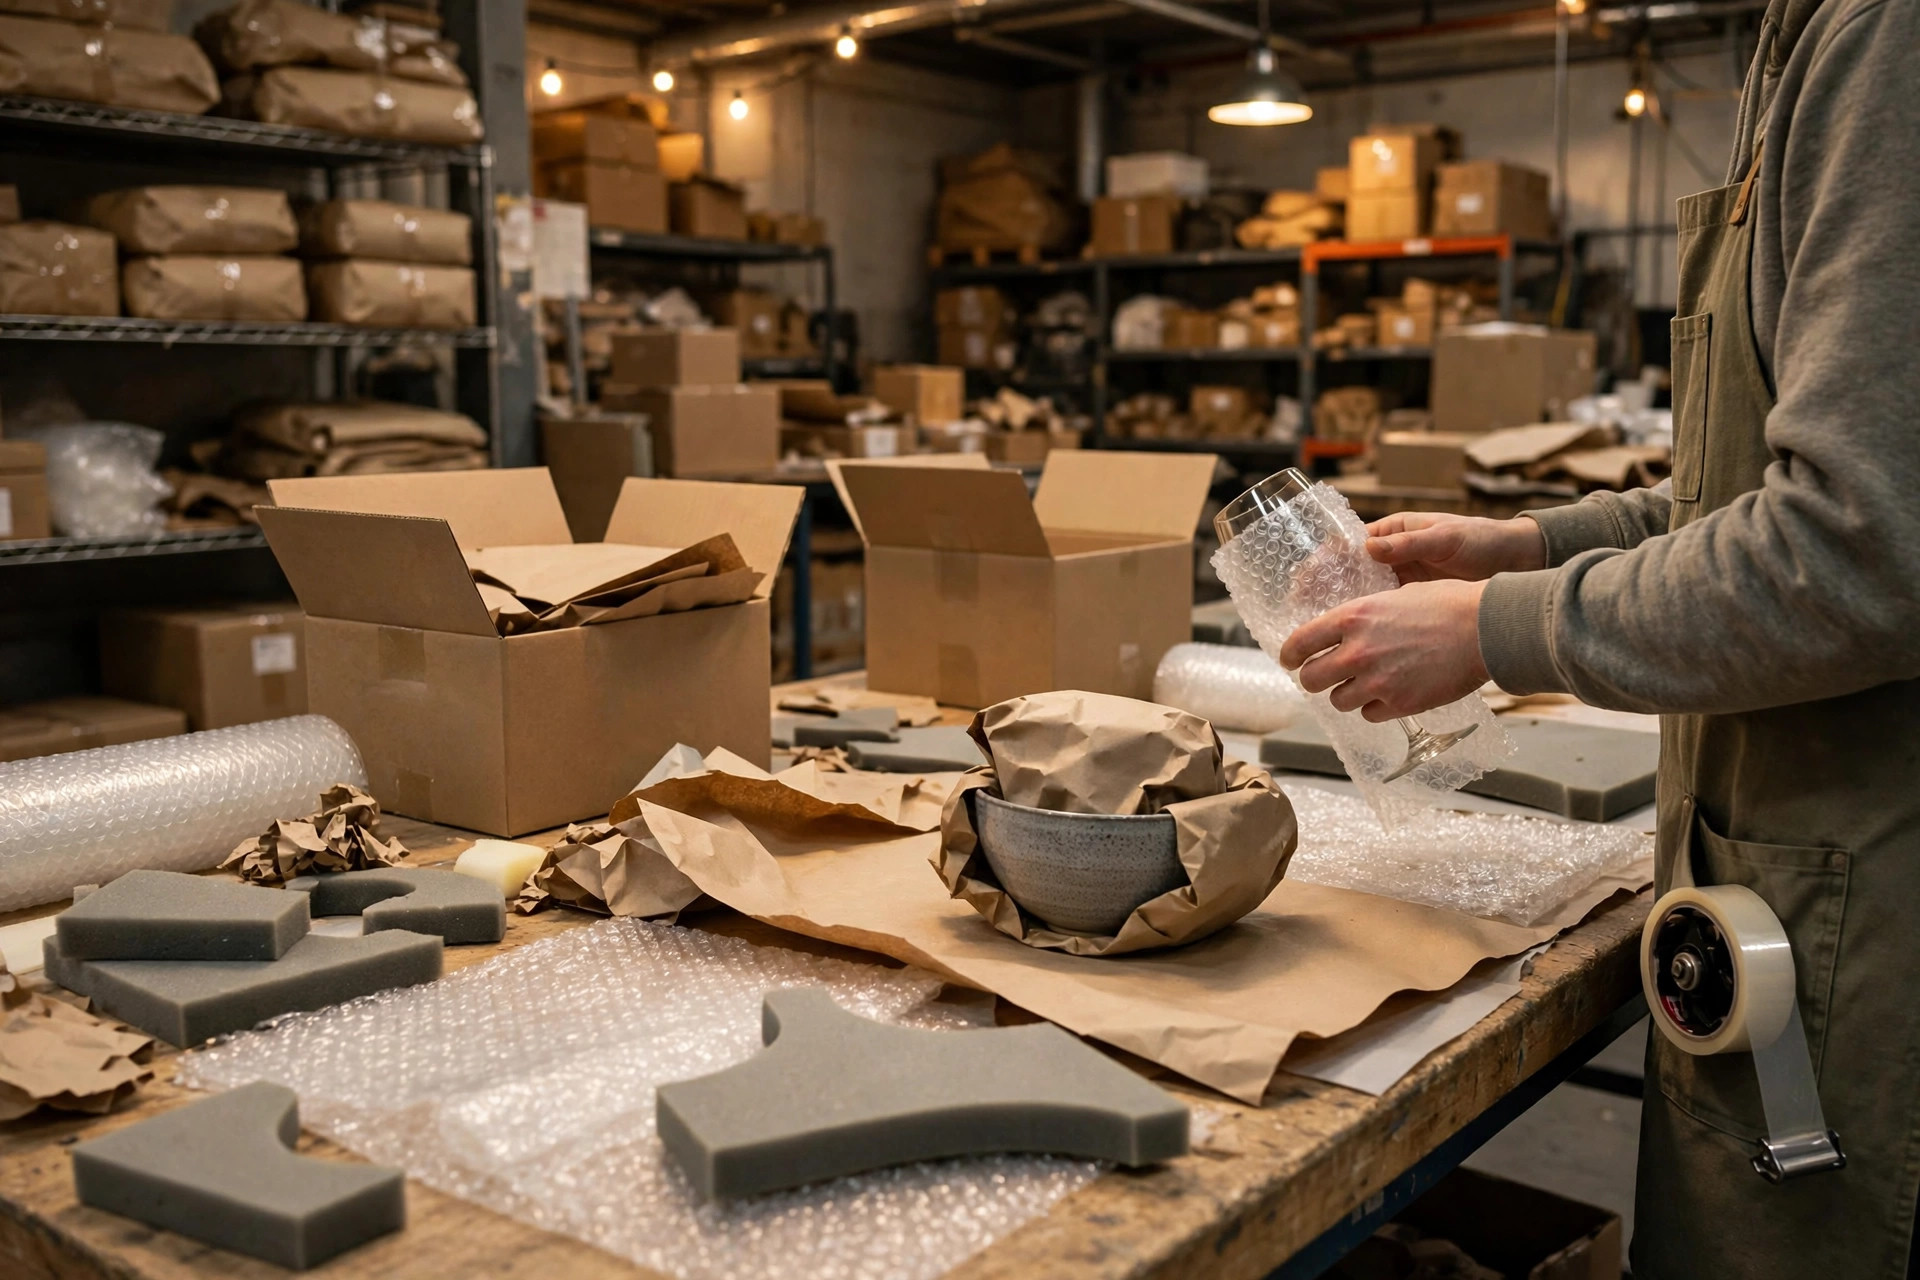
Let me vent for a second: how to pack fragile goods is a question I hear constantly, and the most infuriating thing is not that packing them is hard. It is that you can pack carefully and still get the damage claim. The year I sold ceramic dinnerware, I shipped a 24-piece set wrapped in two layers of bubble wrap, with the box stuffed full of fill. Three plates still arrived broken. When I opened the damaged box, the problem was obvious. The plates could move. Movement is the real killer in fragile packing, not thin wrapping. So here is the standard we now run at our packing bench: sort first, pick cushioning second, compartmentalize third, and drop-test before the method goes live.
How to Pack Fragile Goods Starts With Sorting, Not Bubble Wrap
The first step in how to pack fragile goods is not reaching for the bubble wrap. It is sorting the goods into tiers. Our bench has a tier chart taped to the wall, and every new packer learns it on day one. We sort on three things: material, structure, and value. Thin glass and ceramic that shatter on impact are tier one. Mugs with handles and thin-walled vases with a weak point are tier two. Thick-walled jars and small appliances that still have their factory inserts are tier three. Different tiers get different pack methods. Using a tier-one method on tier three wastes money, and using a tier-three method on tier one is asking for a claim.
Two real cases from my own bench. First, the dinnerware set: plates shipped stacked with only a thin sheet of tissue between them, and the glaze came back scratched wherever plates touched. The fix was simple and unglamorous. Wrap each plate separately, divide them with partitions, and never let plate touch plate. Second, a glass pendant lampshade: curved, thin-walled, and worst at a single pressure point. A packer wrapped the whole shade in one layer of film and dropped it in a box, so every squeeze landed on the curve. It arrived cracked. The fix was to wrap the curve in bubble wrap first, then brace the pressure points with foam corners so a squeeze spreads across the surface instead of landing on one spot.
Sorting also makes the money work. Tier-one goods earn a more expensive pack because their damage and return costs are higher. Tier-three goods get a simpler pack, and the material and labor saved there is real margin. One pack method for everything is not a standard. It is laziness with a label on it.
Cushioning: Thicker Is Not Automatically Better
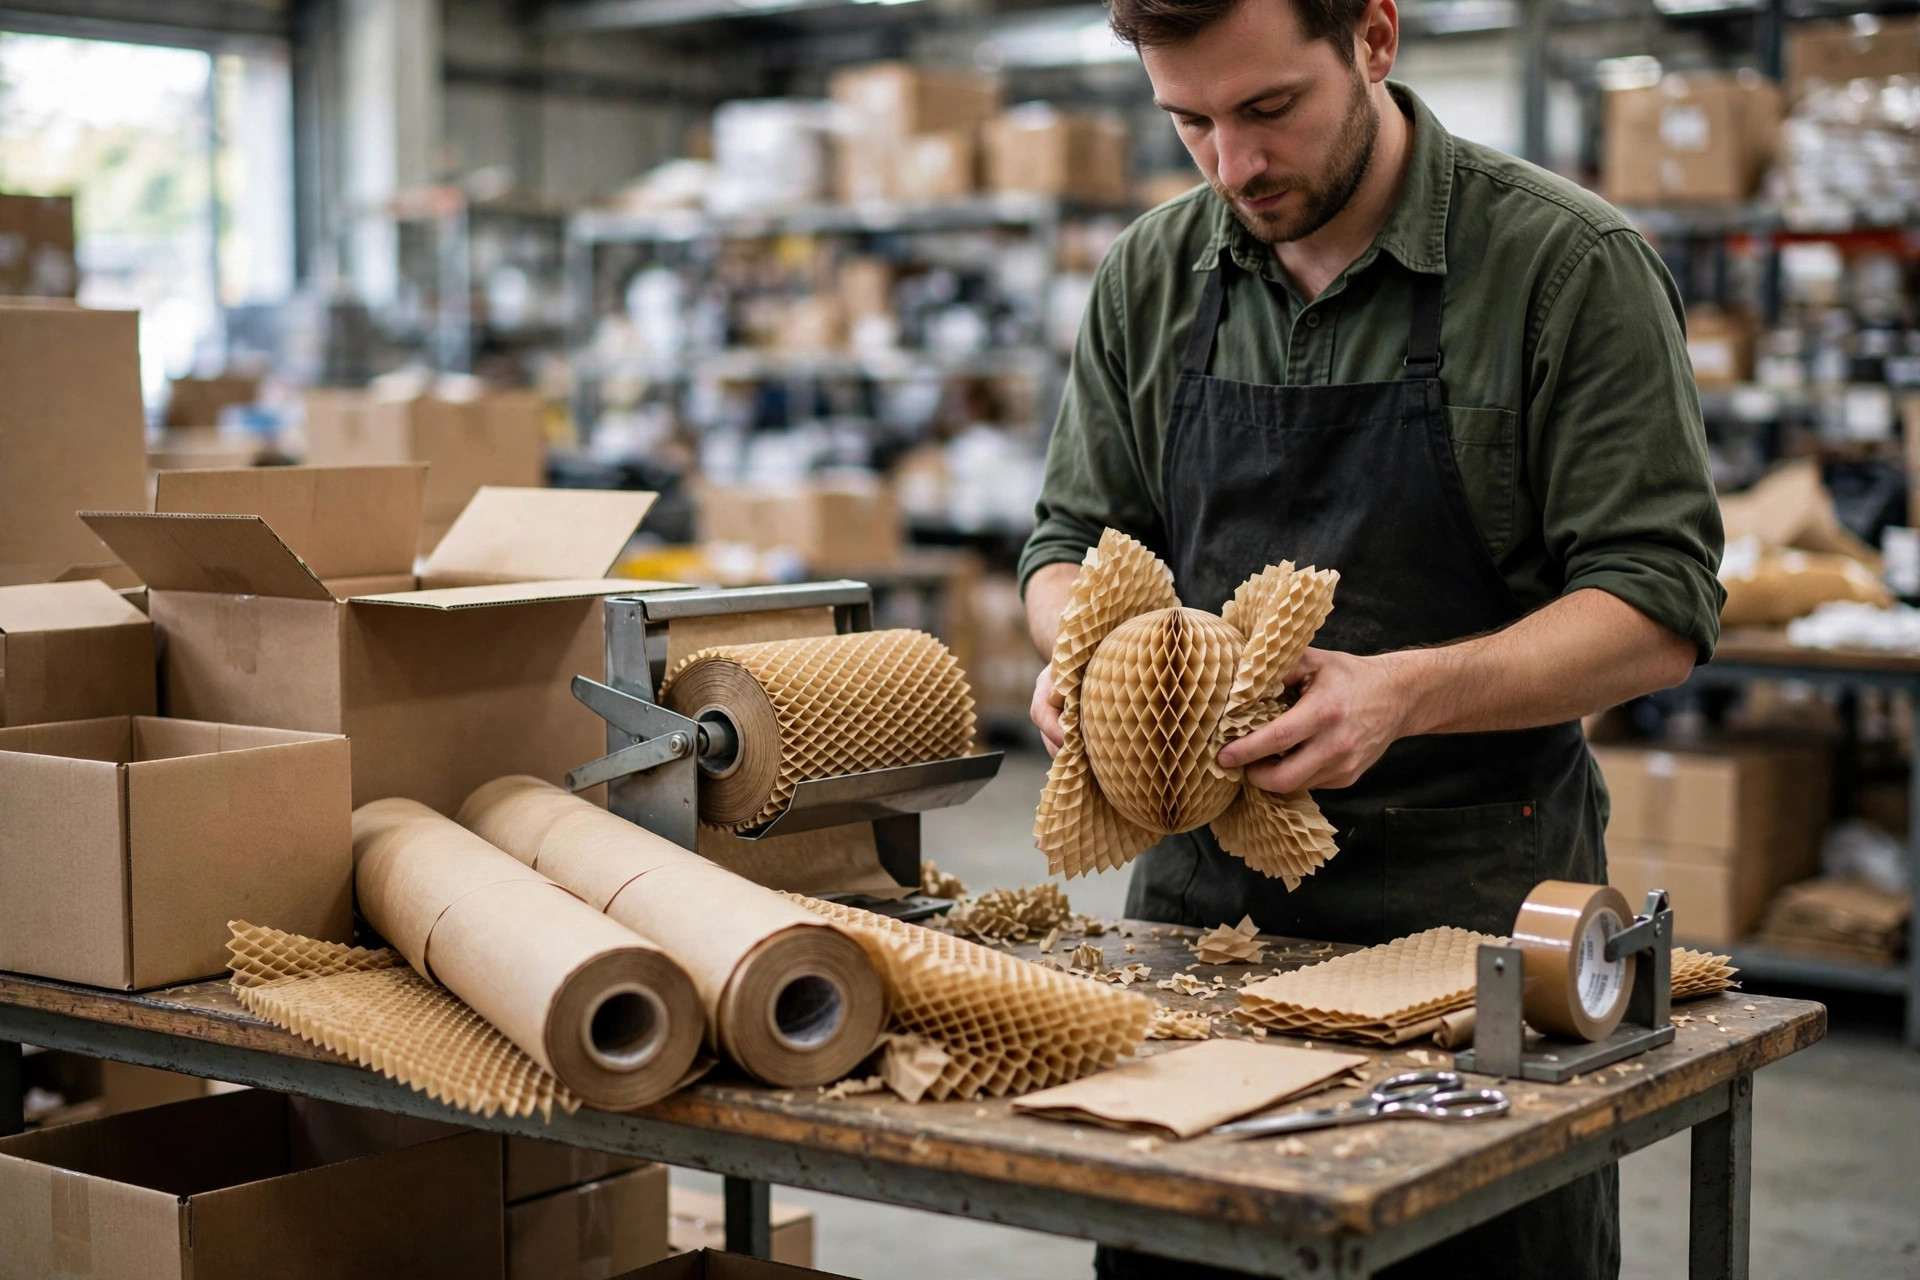
A lot of people think cushioning means more bubble wrap. Wrong. Cushioning has two jobs: keep the item from moving, and spread an impact out instead of letting it land on one point. Bubble wrap fits single items and curved surfaces. Foam board makes partitions and corner pads. Paper padding fills gaps and stops rattling. Air pillows fill big empty space, but do not count on them to hold a heavy item in place. Pick the wrong material and you are worse off than if you had used one layer less.
Our bench runs off a lookup table now, so packers check the tier and shape instead of asking the lead every time:
| Tier and shape | Wrap the item | Fix it in the box | Never do this |
|---|---|---|---|
| Tier one: glasses, ceramic plates | Wrap each piece separately, extra layers on rims and bases | Divided compartments, paper padding packed tight in each cell | Stack pieces bare with gaps where they can rattle |
| Tier two: handled mugs, vases | Wrap handles and thin walls first, then wrap the whole piece | Foam corners on pressure points, all gaps filled | Wrap only the outside and leave the inside hollow |
| Tier three: thick jars, appliances with inserts | Keep the factory insert, add one outer wrap | Paper pads in all four corners so nothing slides | Throw out the factory insert and improvise |
Here is the counterintuitive part: packing too tight also breaks things. If an item has zero give inside the box, an impact has nowhere to go and passes straight into the goods. The right feel is this: the item does not move, the box makes no rattle when you shake it, but pressing the box wall gives a little spring back. The shake test is the simplest check on our bench, and any box that rattles goes back for rework. No exceptions.
Boxes and Compartments: The Outer Box Is the Last Line of Defense
Good wrapping in a bad box wastes half the work. For fragile goods we use double-wall corrugated boxes across the board, and single-wall boxes only for the toughest tier-three items. Box size matters too. After the item and its cushioning go in, there must be room around all four sides for fill. A box that fits skin-tight has no cushioning at all. A box that is far too big is just as bad, because the item migrates inside all that fill.
Compartments are the part people skip, and they are the part that matters most for multi-piece shipments. Every piece gets its own cell, divided by partitions, so pieces never touch and never pass force to each other. Heavy pieces go on the bottom, light ones on top, which everyone knows. What people forget is never to mix materials in one box: glassware riding with a metal ornament means the metal becomes a hammer every time the box moves.
Sealing has its own standard on our bench: tape in an H pattern, two runs on the bottom and two on the top. Plenty of people tape the top and skip the bottom, and then the box gets lifted on a sort line, the bottom opens, and the whole shipment hits the floor. On our bench, more rework comes from bad sealing than from bad wrapping, which tells you where the real weak link is. After sealing, shake the box once more. Silence means it passes.
The Drop Test: How to Pack Fragile Goods So the Test Means Something
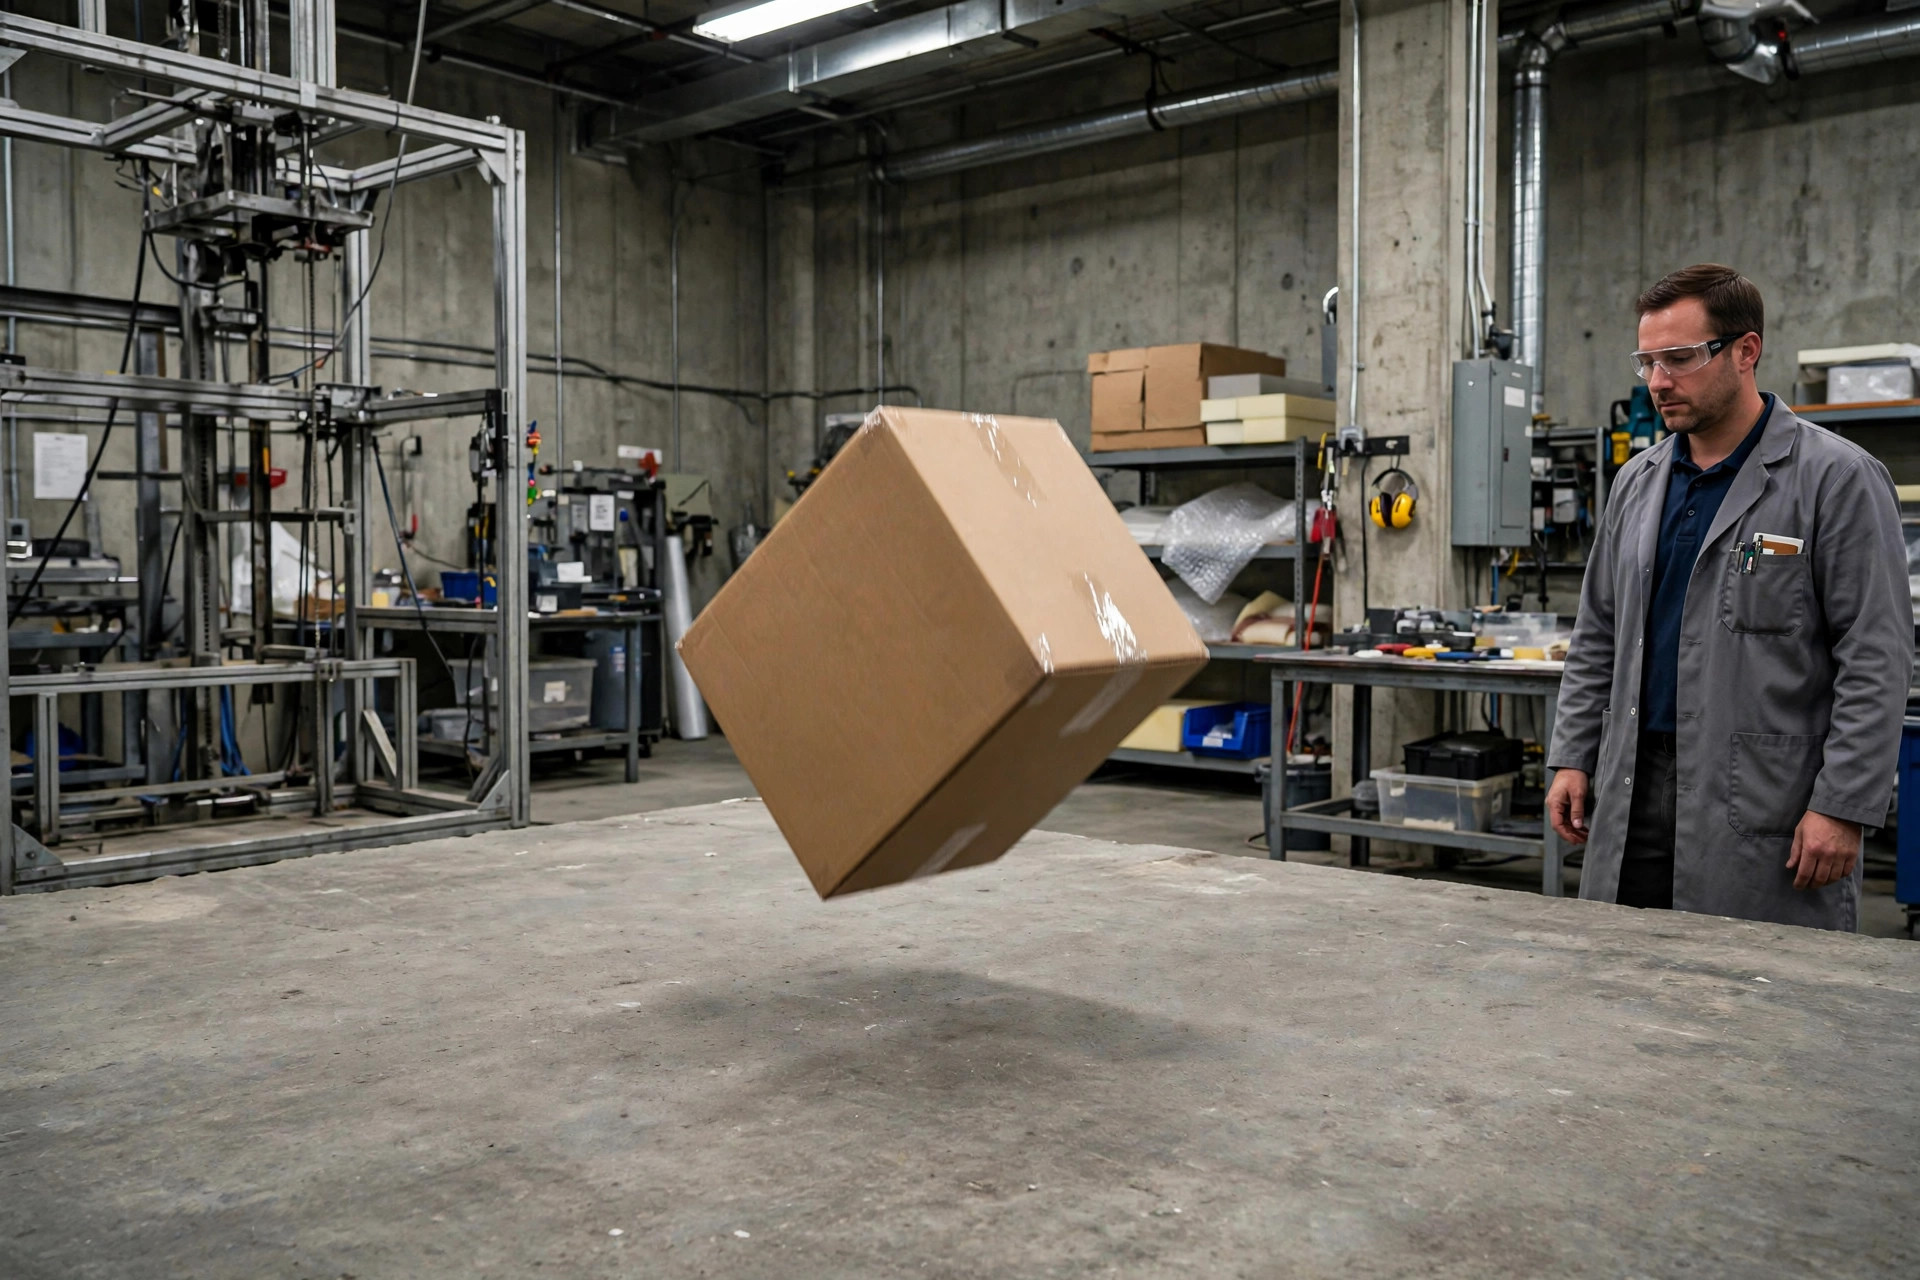
Everything so far is experience. The thing that actually decides whether a pack method ships is the drop test. Our version is low-tech and it works. Before any new pack method goes live, we pack three sample boxes exactly that way, then drop each one from bench height, the height a box actually falls from a person's hands, once on a corner, once on an edge, and once on a flat face. Then we open all three. If all three survive, the method goes live. If one fails, we change the method and test again from scratch.
A few rules make the test honest. First, the drop height has to match real life. Dropping from two meters is not a test, it is revenge, and setting the box down gently is not a test either, it is a photo shoot. Second, test the corner, the edge, and the face. Testing only the flat face is the most common self-deception, because in transit the corner usually hits first. Third, keep a log: which product, which pack method, how many drops, what broke. When a material supplier changes, check the log before you switch on feel.
One caution I take seriously: platform and carrier requirements for fragile shipments change, so check each platform's and carrier's current help pages before you lock a method in, and do not trust a requirement copied from a random blog. The same goes for formal certification test procedures: use the certifying body's current published documents, not a procedure number repeated through five blogs. Our bench drop test screens pack methods. It does not replace formal certification, and the two should never be confused.
Here is the honest bottom line. There is no pack method you set once and forget. We review damage claims every week, and whichever product line's claims climb gets its pack method pulled and drop-tested again. Damage goes down not because of one magic material, but because sorting, cushioning, compartments, and testing all get done, every time. This one I tested myself: before you seal a box, shake it. If it rattles, fix it now, because the customer will hear it later.
By Ah K, E-commerce Seller (5 yrs)