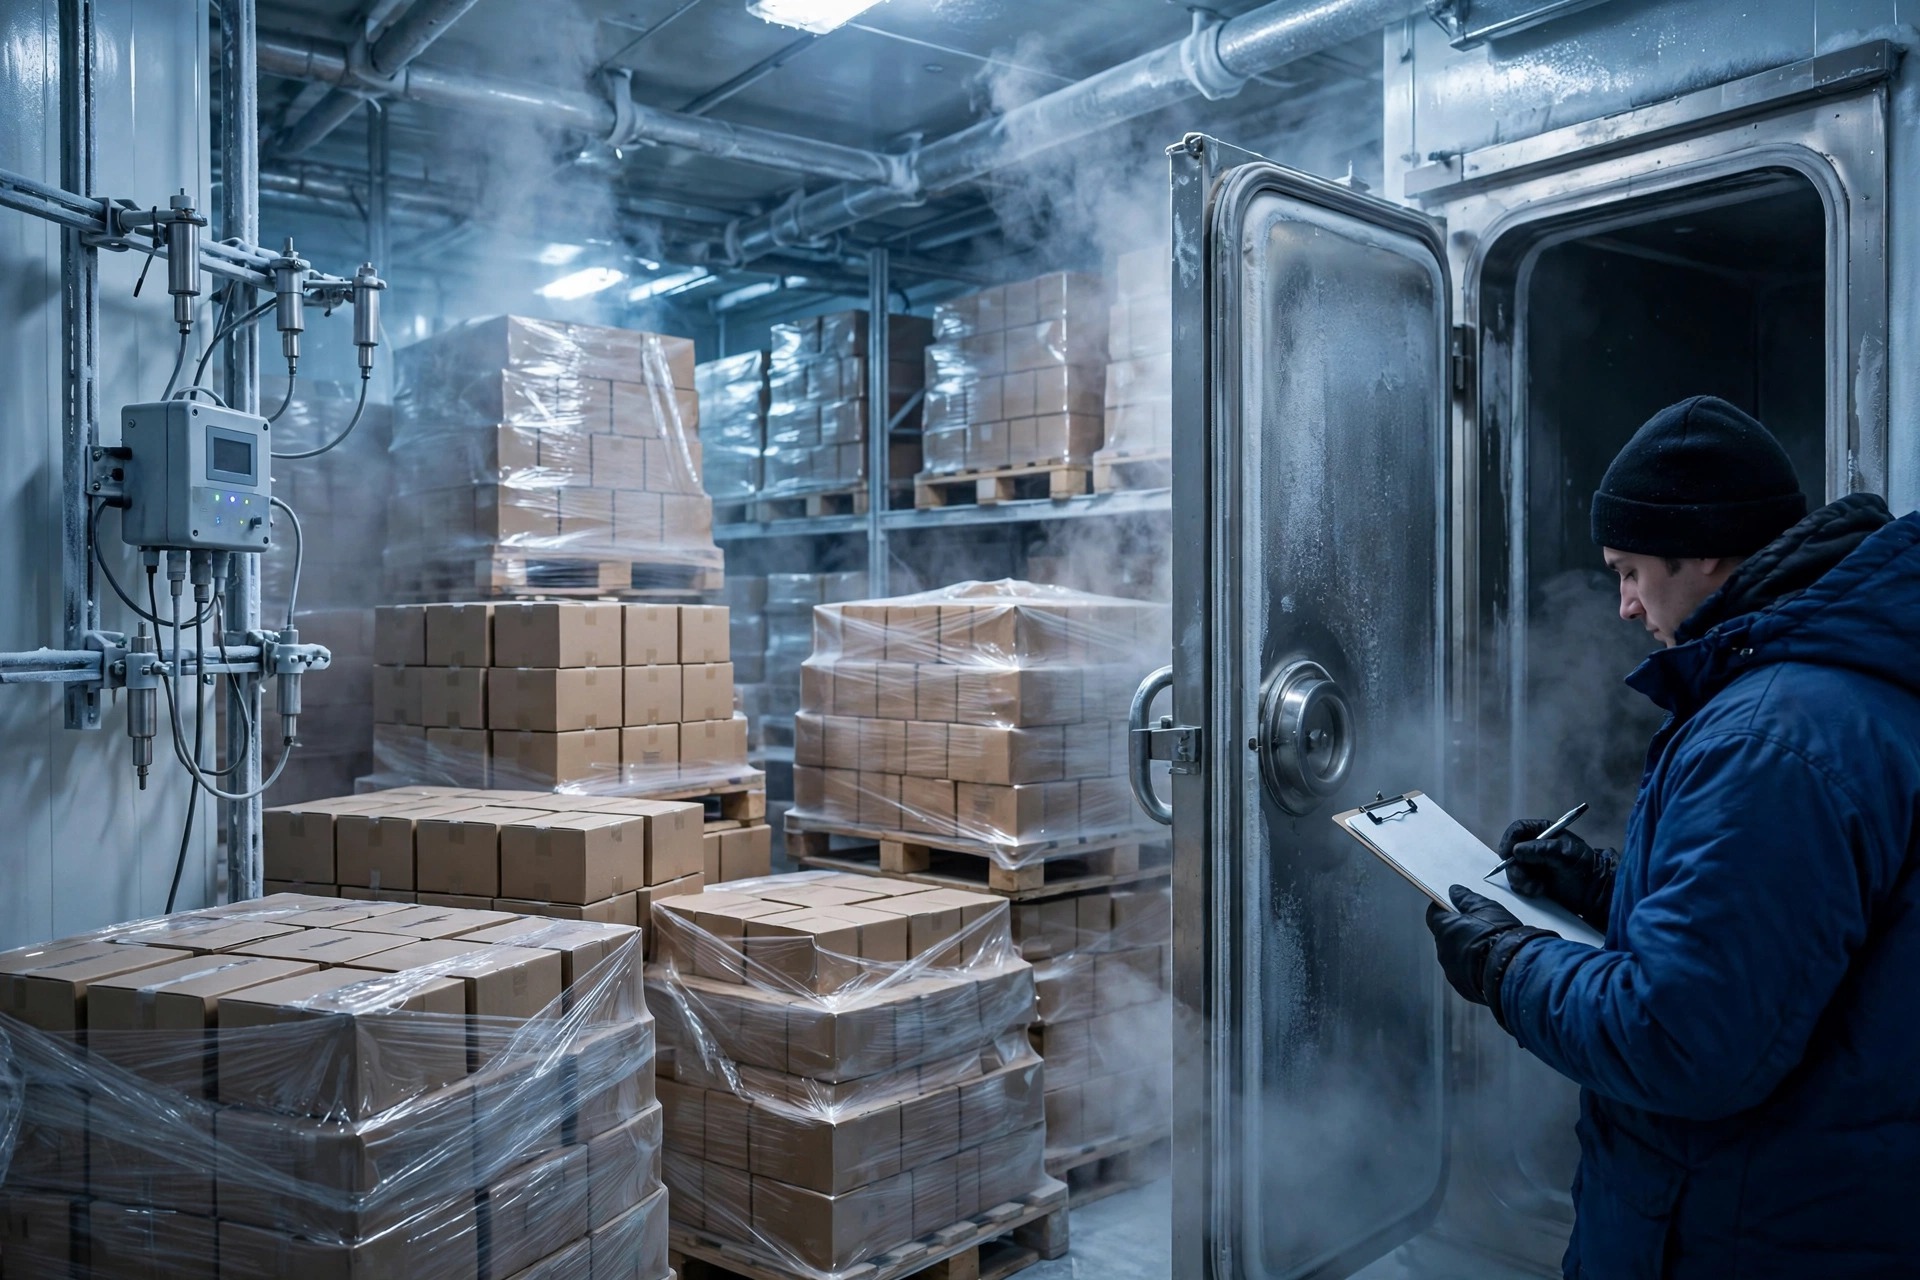
In a diagnostic reagent cold chain warehouse, the worst call comes at 2:17 in the morning. My phone showed one line: freezer B3, set for -20°C, reading -12.4°C and still climbing. Inside sat a batch of PCR reagents scheduled to ship to two hospital labs at dawn. Driving to the warehouse, I had exactly one question in my head: nobody gets to decide whether this batch is still good by looking at it. The temperature log and the expiry date decide.
That is the core difference between reagent cold chain and ordinary cold storage. When a food cold chain breaks, the damage is visible: thawed, soft, spoiled. When a reagent cold chain breaks, the boxes look perfectly fine while the performance inside may already be gone. Ship them anyway, and the hospital gets unreliable test results — and no one will accept "it looked fine" as an explanation.
Three Zones in a Diagnostic Reagent Cold Chain Warehouse: Never Mix Them
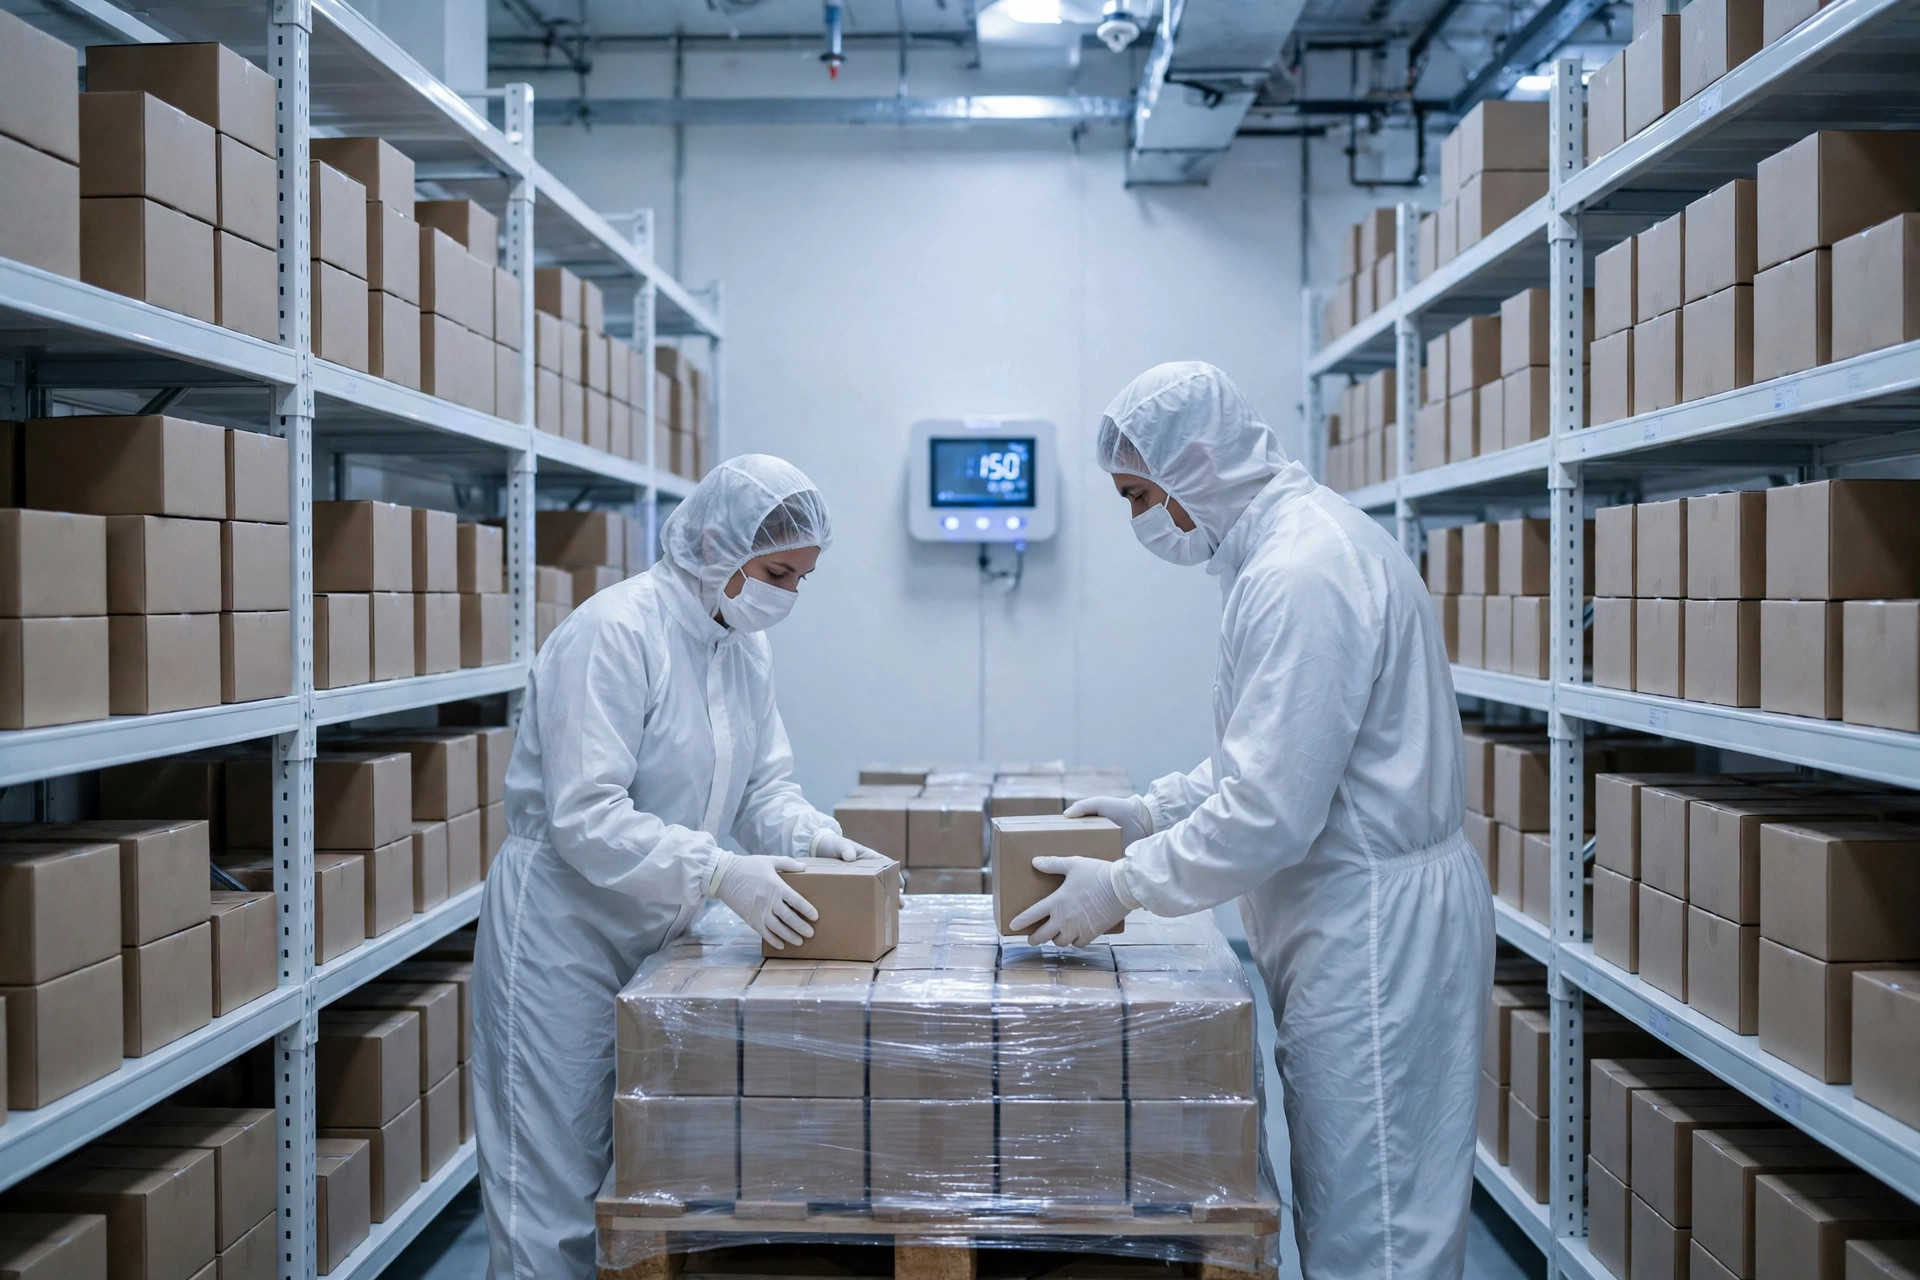
Reagents do not live at one temperature. Every warehouse I have worked in runs three zones: refrigerated at 2–8°C, where most reagents belong; PCR reagents at about -20°C; and nucleic acid samples and raw materials at -70°C to -80°C. Three zones, three kinds of equipment, three inspection routines. Mix them and you are planting a problem.
Two years ago I walked into a warehouse retrofit and found 2–8°C reagent kits stored inside a -20°C freezer. The reason given was "colder is safer." That idea has hurt a lot of people. Freeze a refrigerated reagent and its components can separate or degrade; after thawing it looks unchanged, which only pushes the problem downstream to the hospital lab. The reverse is just as bad: leave a -20°C product in a 2–8°C cabinet overnight and it has effectively spent hours at the edge of room temperature. Colder is not safer. The first rule of this business is that every product sits in its own zone, no exceptions, no rounding.
I now run the whole warehouse off one table, and it goes into the system, not just on the wall:
| Zone | What goes here | Equipment essentials | Where it usually goes wrong |
|---|---|---|---|
| 2–8°C refrigerated | Most diagnostic reagents | Refrigerator with an independent probe, door-open logging | Aging door seals leak cold air and the temperature drifts past 8°C unnoticed |
| About -20°C | PCR reagents | Low-temperature freezer with a tested power-loss alarm | Defrost cycles push the temperature up briefly and nobody catches it |
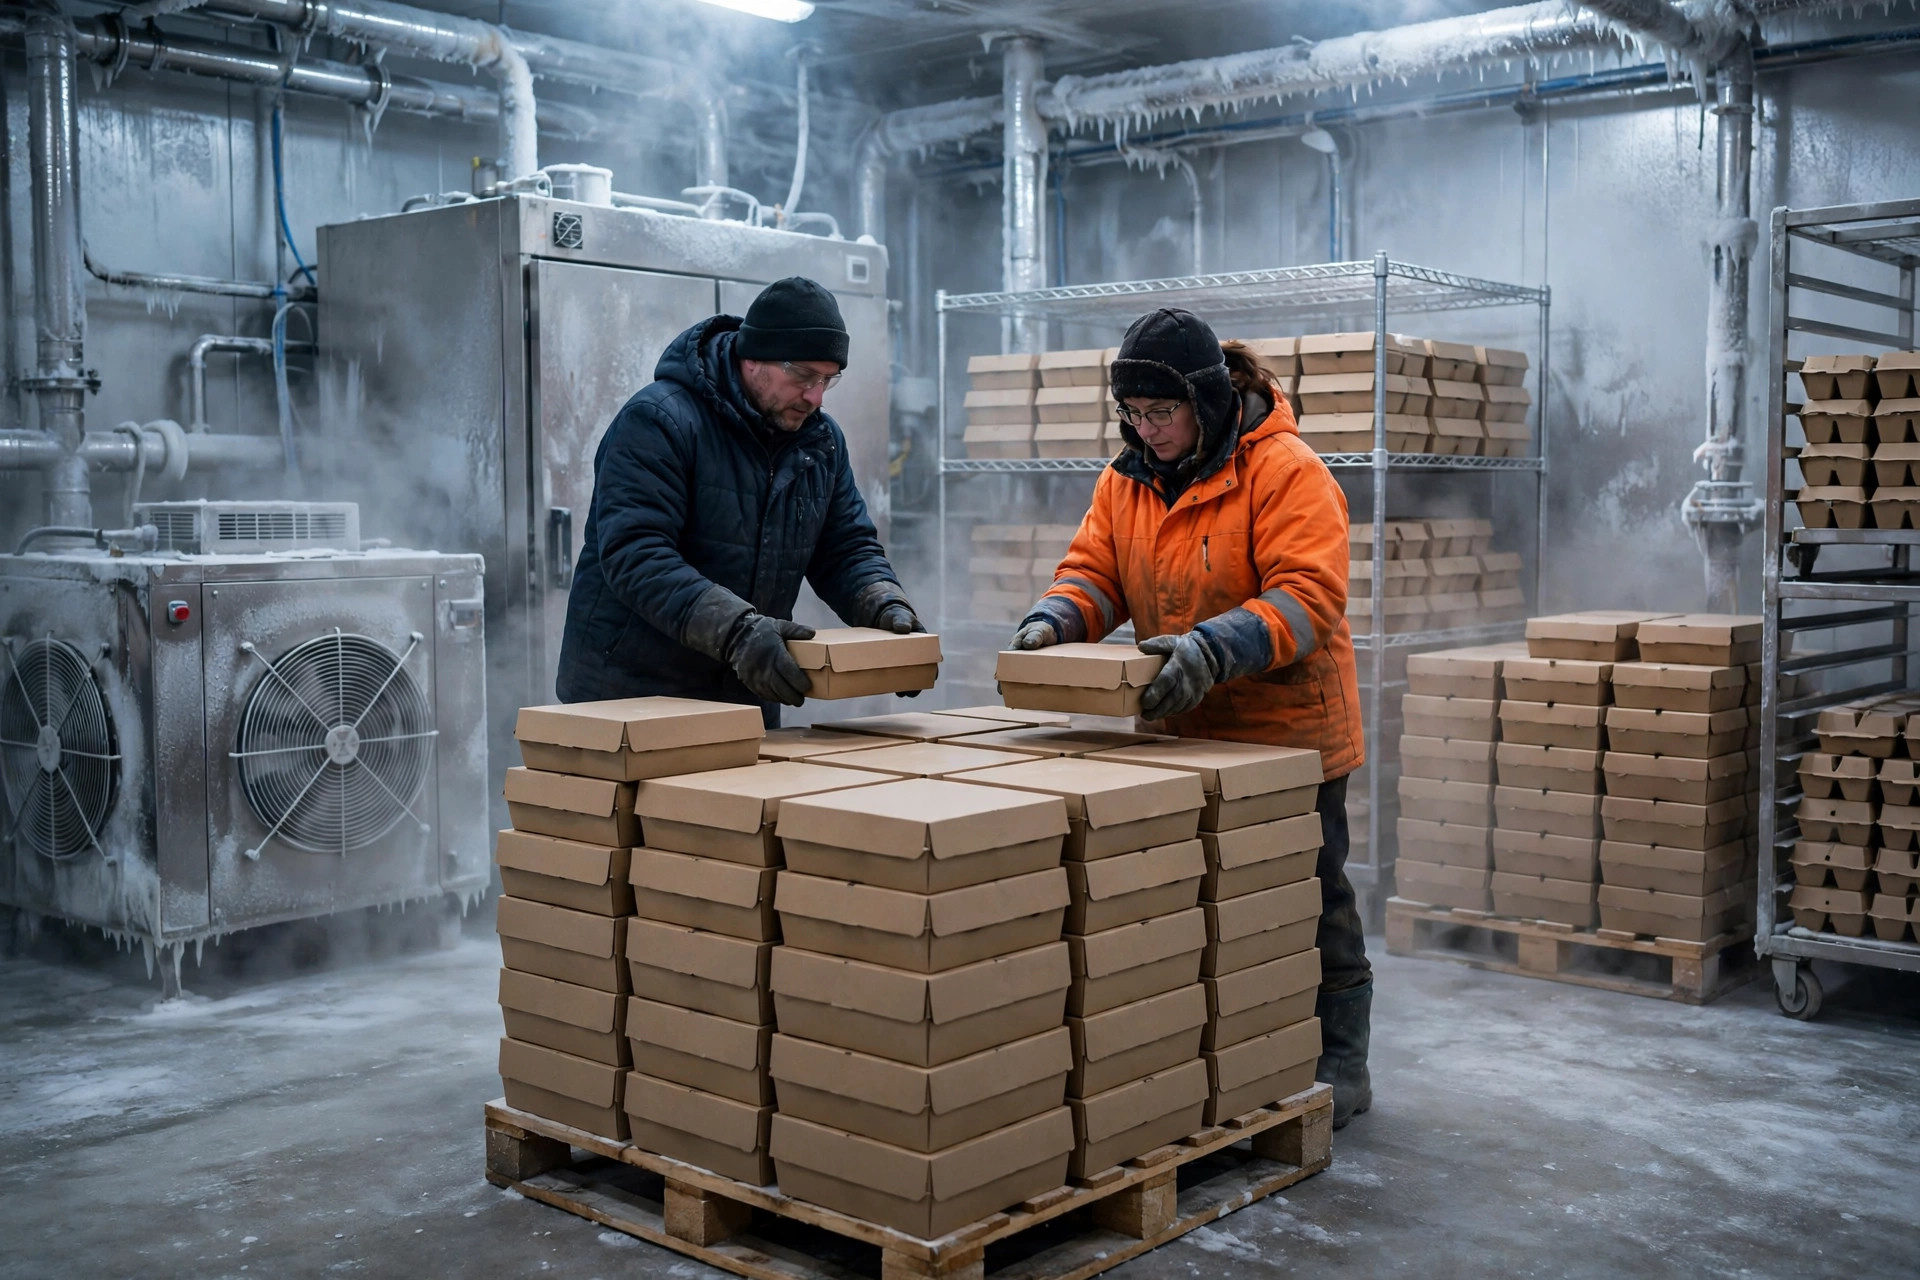
| -70°C to -80°C | Nucleic acid samples, raw materials | Ultra-low freezer with a backup unit or liquid nitrogen fallback | A compressor fails at night and nobody notices until morning |
The table only works if the system enforces it. Every storage location is bound to a zone in the warehouse system, and an inbound scan against the wrong zone gets blocked. People will misremember; the system will not. Let a wrong-zone putaway through the door and you have already lost the audit trail.
Where a Diagnostic Reagent Cold Chain Warehouse Usually Fails: Handling a Temperature Excursion
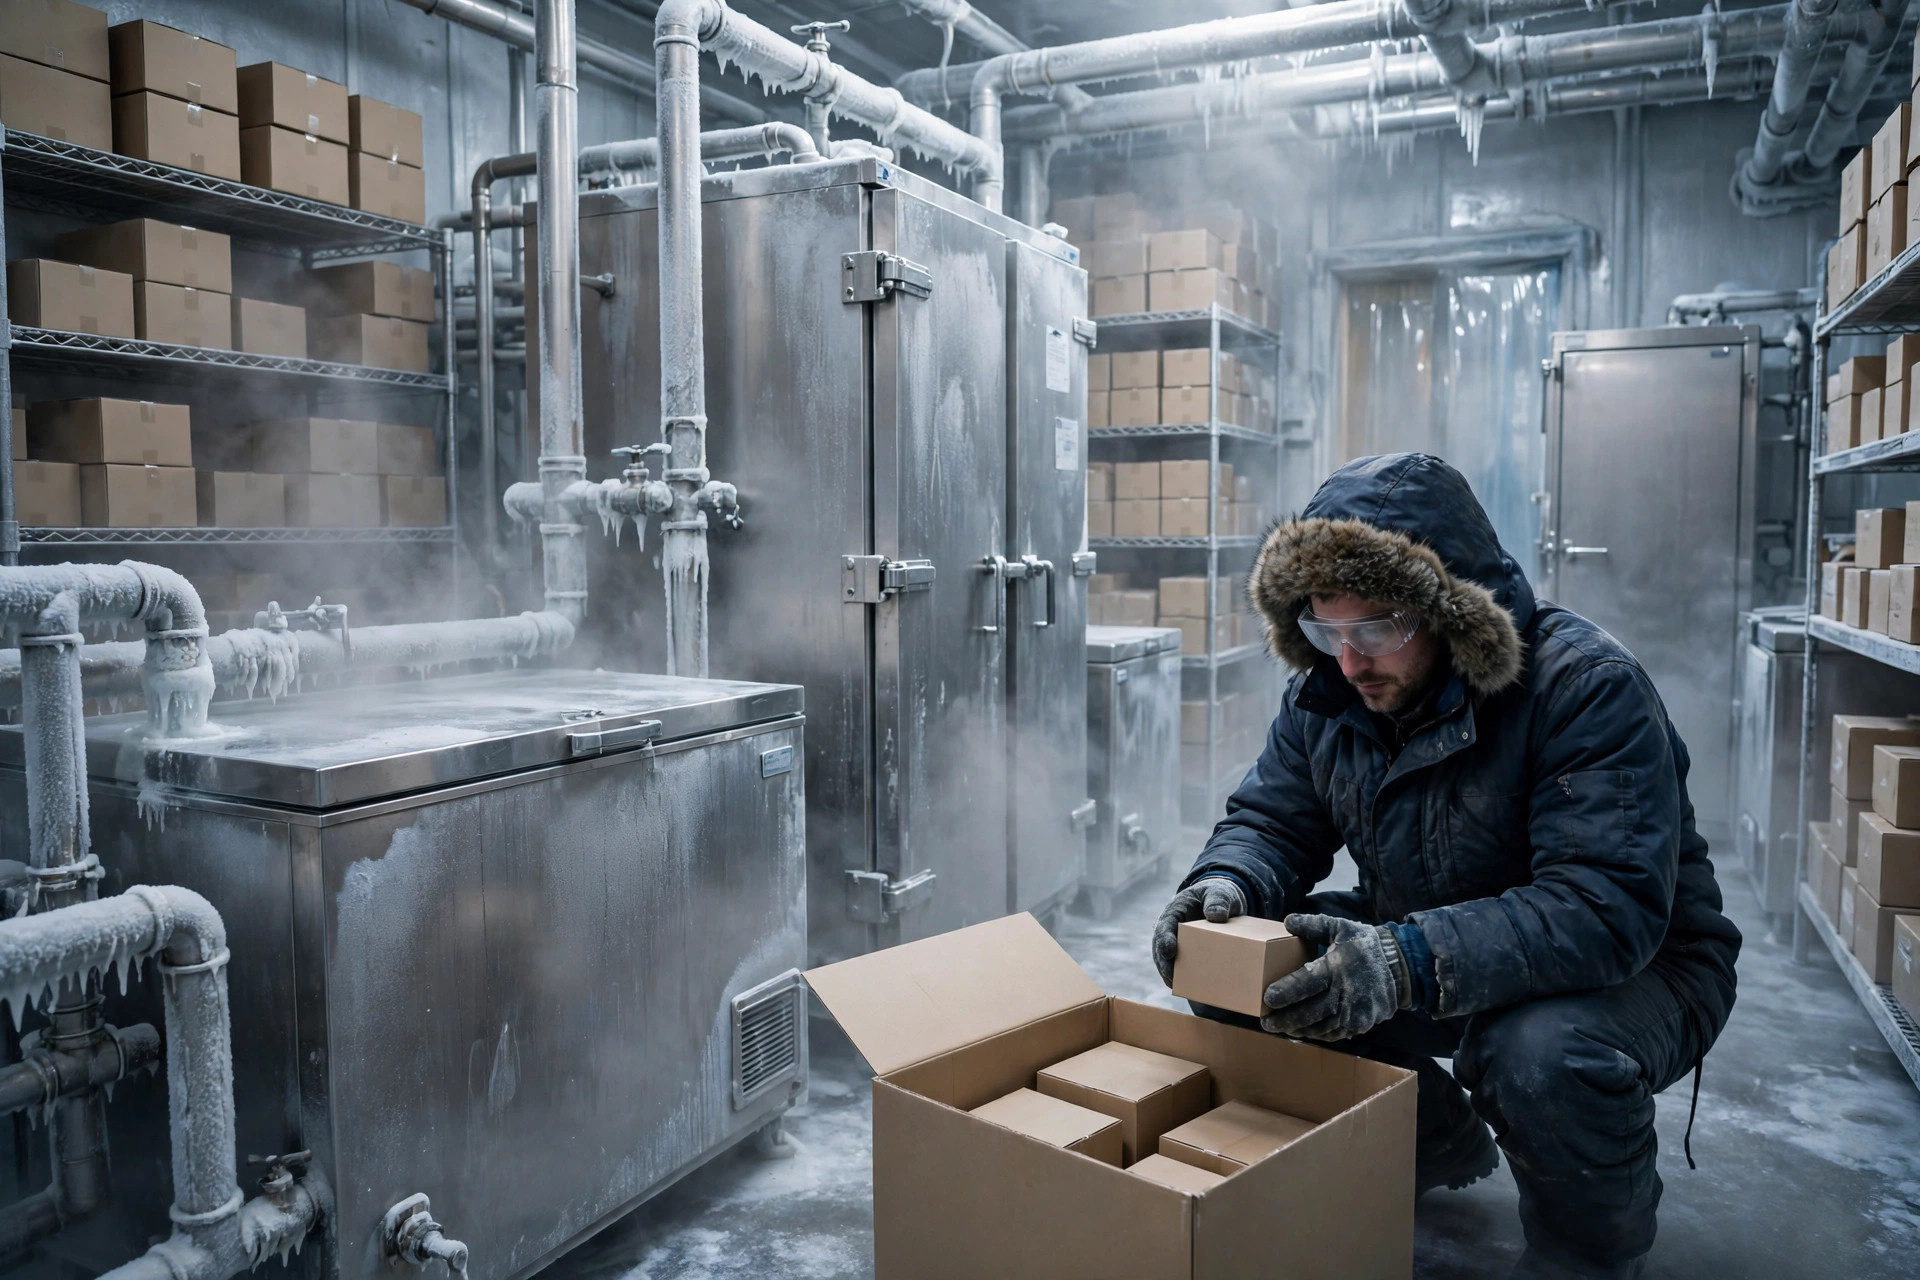
Back to freezer B3 that night. On site I did three things, in this order. First, I sealed everything inside B3 in place, tagged it "pending confirmation," and moved nothing. Second, I pulled the continuous temperature log: when the excursion started, how high it went, how long it lasted. Third, I called the supplier with the batch numbers and the curve, and asked whether the batch could be released.
The order matters. The worst mistake is releasing on gut feeling and writing the paperwork afterward. The rule for excursion stock is simple: quarantine it pending confirmation, and decide only when the data and the manufacturer's answer are both in hand. A short, shallow excursion may earn a written release from the manufacturer. A long, ugly curve means the batch is scrapped. Scrapping hurts, but shipping it costs far more — one disputed test result can burn through a whole year's cold chain budget.
The second failure point is shift handover. An alarm sounds at night, the morning shift says "it went off once and then fixed itself," nobody writes it down, nobody checks the curve, and officially the excursion never happened. I now require a record for every single alarm, whether or not it recovered on its own, with the cause investigated and the handler signed. Alarm records are not for blame. They are the proof that every batch is traceable end to end. Without them, an auditor asks one question you cannot answer.
The Acceptance Checklist: What I Check Before Signing Off
When a new warehouse, new equipment, or new process goes live, I check five things. First, zone separation: are the three zones physically separated, are locations bound to the right zones in the system, and does scanning a 2–8°C product into a -20°C location actually get blocked? Second, alarm testing: cut power to one freezer and time how long it takes for the alert to reach the on-duty phone — measure it, do not trust the vendor's "instant" claim. Third, backup power: how long can the ultra-low freezers hold after an outage, and can a backup unit be running within four hours? It only counts if it has been rehearsed once. Fourth, expiry management: does outbound picking follow FEFO, first-expired first-out, with early warnings days ahead and separate picking rules for near-expiry stock? Fifth, excursion procedure: is the quarantine area, the pending-confirmation labeling, and the manufacturer's contact list ready so that the person on duty at 2 a.m. can act without hunting for a manual?
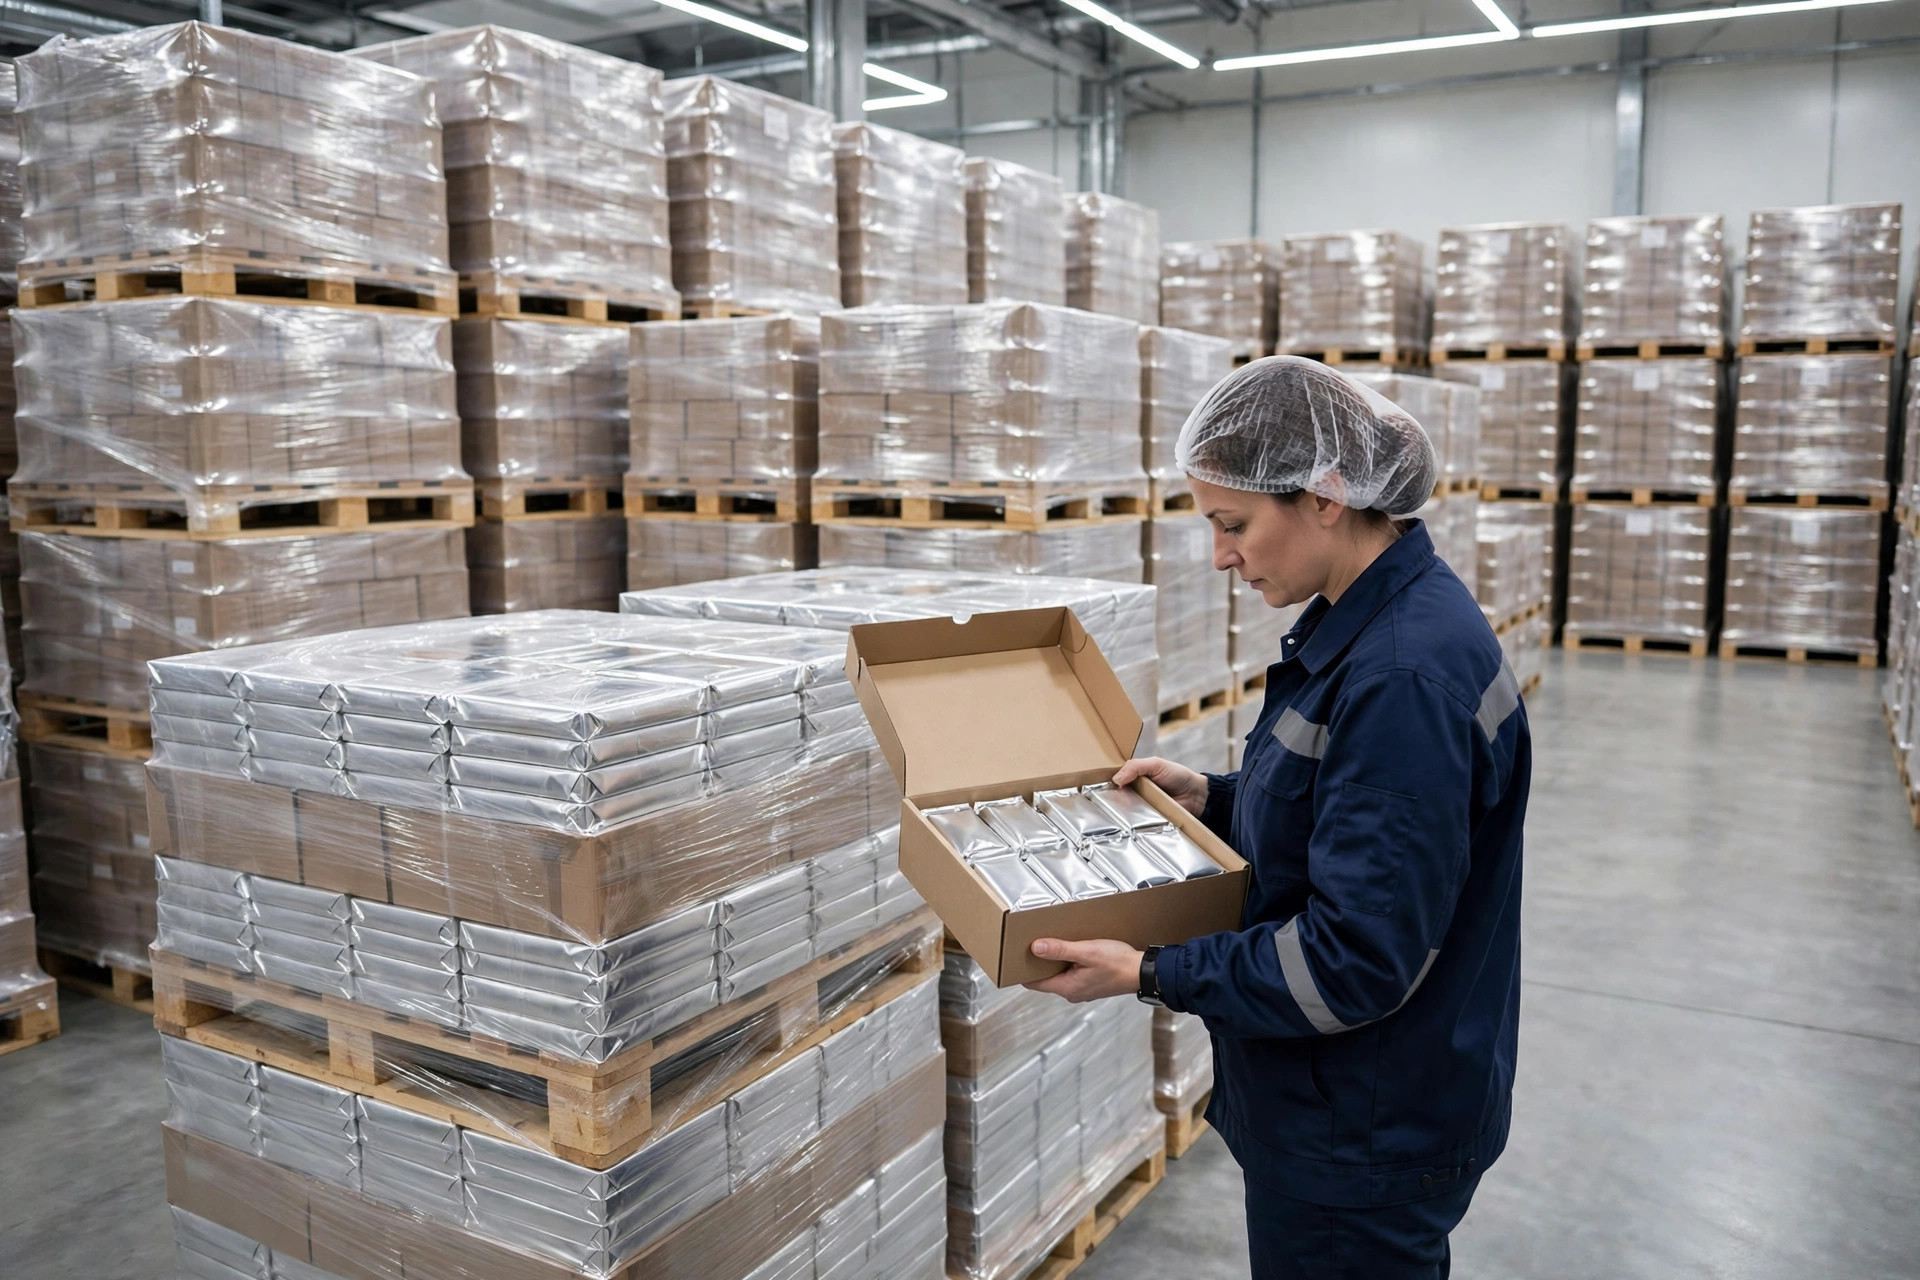
The fourth item gets underestimated most often. Expiry math in a reagent warehouse is harder than in a general warehouse: same batch with different expiry dates, same product across zones, and a picker grabbing by feel will usually take the box with the longest life left while the near-expiry boxes sit longer and longer. FEFO cannot be a slogan. It has to be a hard system rule: picking tasks sort by expiry automatically, orders past the near-expiry threshold lock, and any manual override leaves a trace. I have watched a warehouse cut its near-expiry write-offs visibly after FEFO went live — not because the stock improved, but because it finally shipped in the right order.
In the end, a diagnostic reagent cold chain warehouse is not won by buying the most expensive equipment. It comes down to three things: the right zone for every product, a record for every excursion, and FEFO discipline on every outbound order. Get those three right and a 2 a.m. alarm stops being a panic — you know where the stock is, what the curve says, and who to call. Get them wrong and the most expensive freezer in the building is just furniture.
By Da Liu, Automation Engineer