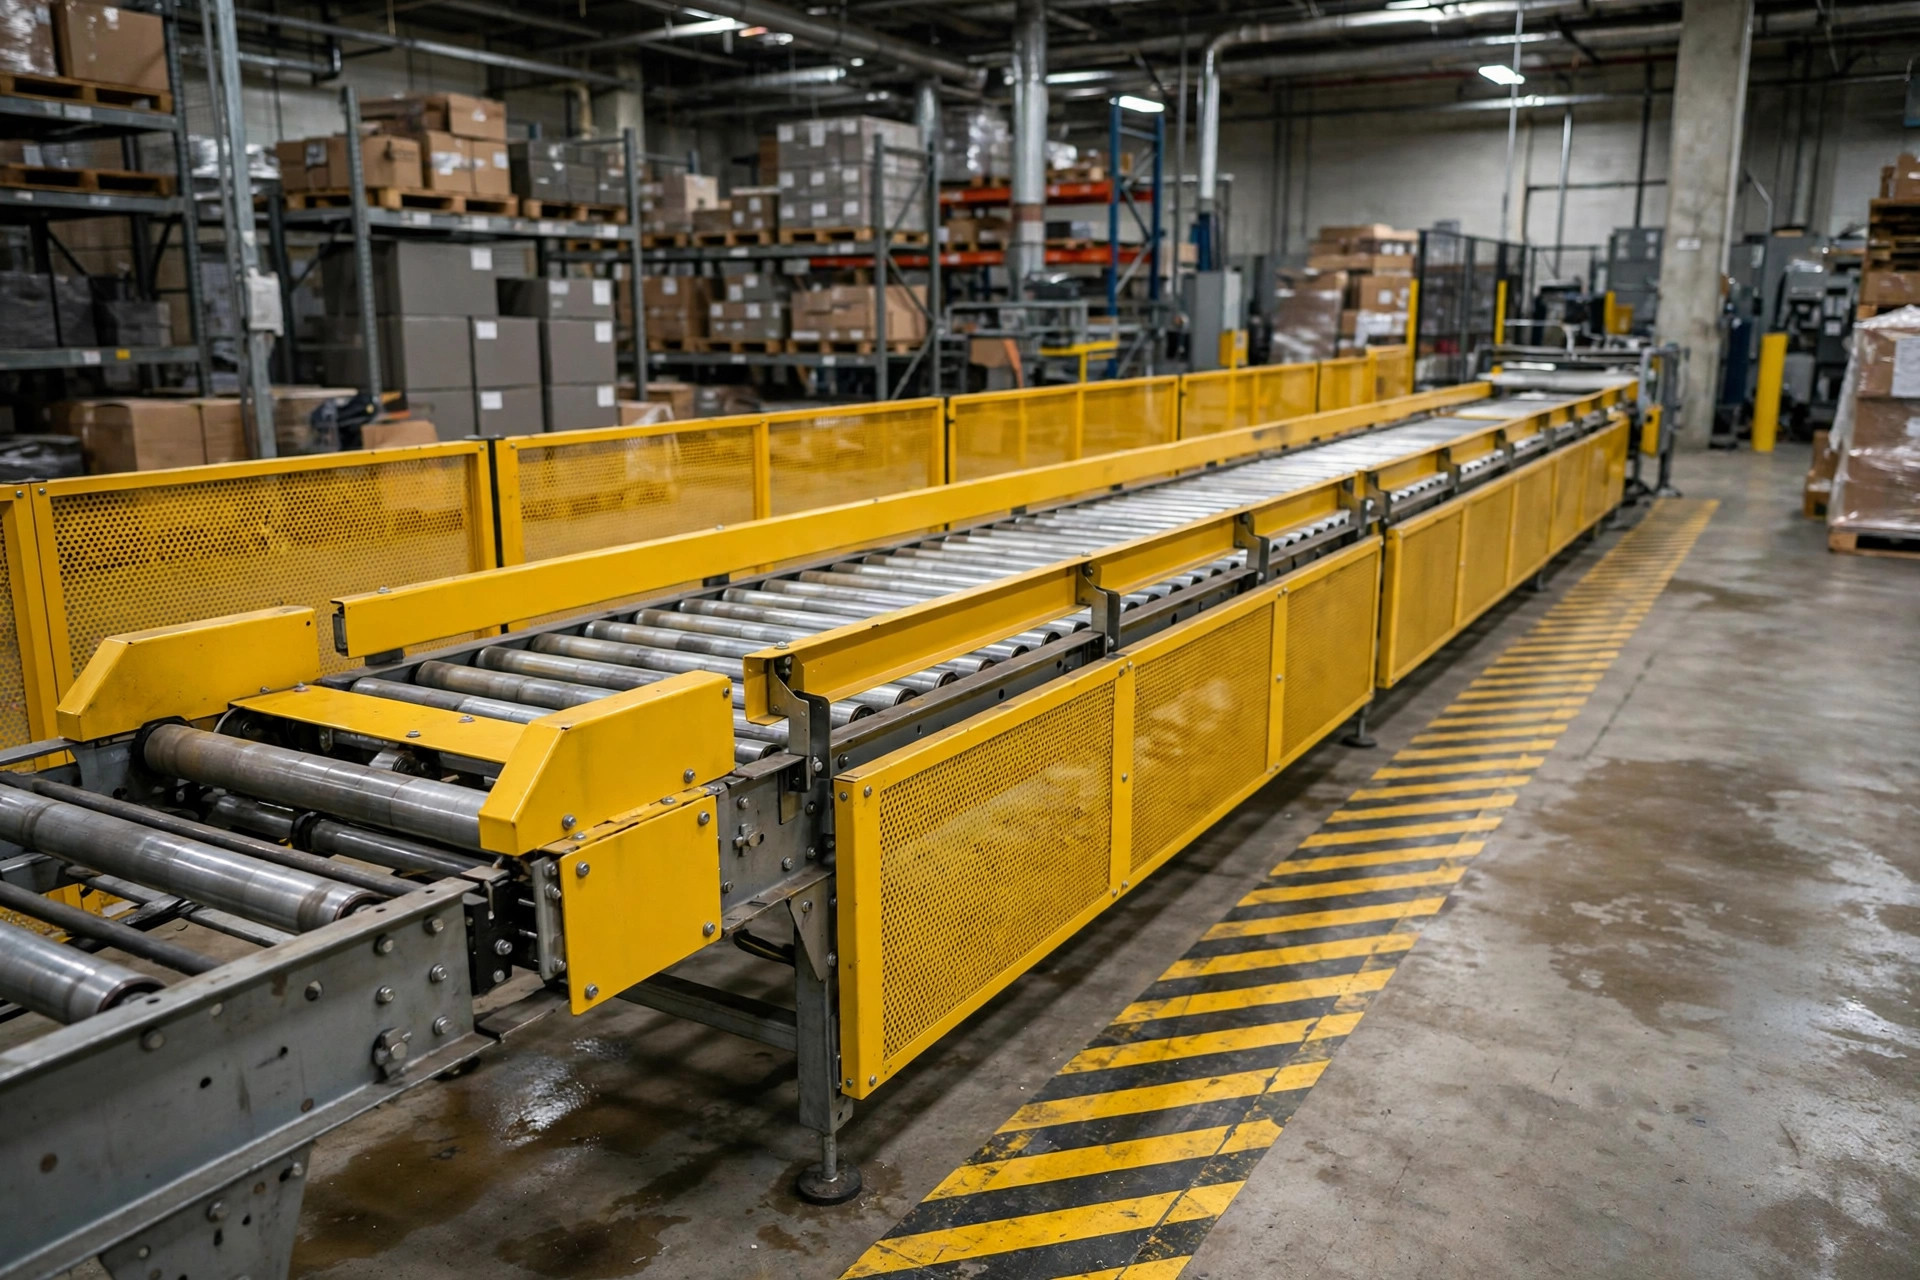

Forty feet. That was the distance from the operator to the nearest E-stop the night a jammed carton wedged under a sortation conveyor in Fontana, California, back in 2022. The operator ran. The belt didn't stop in time. Nobody got hurt — pure luck — but the near-miss report landed on my desk, and the first thing I wrote on it was: this E-stop layout was designed for the drawing, not for the person.
I've spent 20 years working on warehouse automation across the US, and E-stop circuits are where I watch the same mistakes repeat. Not exotic mistakes. Boring ones: buttons nobody can reach, pull cords gone slack, reset procedures nobody follows. Here's how I do it now.
The code won't give you a spacing number. Here's what it does say.
Everyone asks: how many feet apart do the E-stop buttons go? Is there a number in the code? Short answer: no. NFPA 79, Section 10.7 lays down two hard requirements — E-stop pushbuttons must be continuously operable and readily accessible, and they go at every operator control station plus anywhere else an emergency stop might be needed. ASME B20.1, the conveyor safety standard, adds a sharper edge: the emergency stop device must act directly on the control of that conveyor — it can't depend on some other equipment stopping first — and it must not be possible to override it from another location. Washington State's conveyor rule (WAC 296-806-42004) spells it out in plain language: the device must stop the conveyor a safe distance from the hazard, be easy to identify, control that conveyor directly, require a manual reset, and never be overridden remotely.
Notice what's missing? A distance. The standards give you principles; the spacing comes out of your risk assessment. On my projects the practice shakes out like this: a button at every staffed station — induction, sort, pack — within arm's reach. Long straight runs don't get a row of buttons; they get a pull-cord switch — most units cover about 80 meters per switch, longer ones reach 120 to 200 meters, check the manufacturer manual. And one device at each drive end, tail end, and walkway access point. The test I use is simple: from anywhere on the line, a person in trouble should reach an E-stop in a few steps, without climbing over anything. If they can't, add one.
Pull cord vs. pushbutton: run the numbers
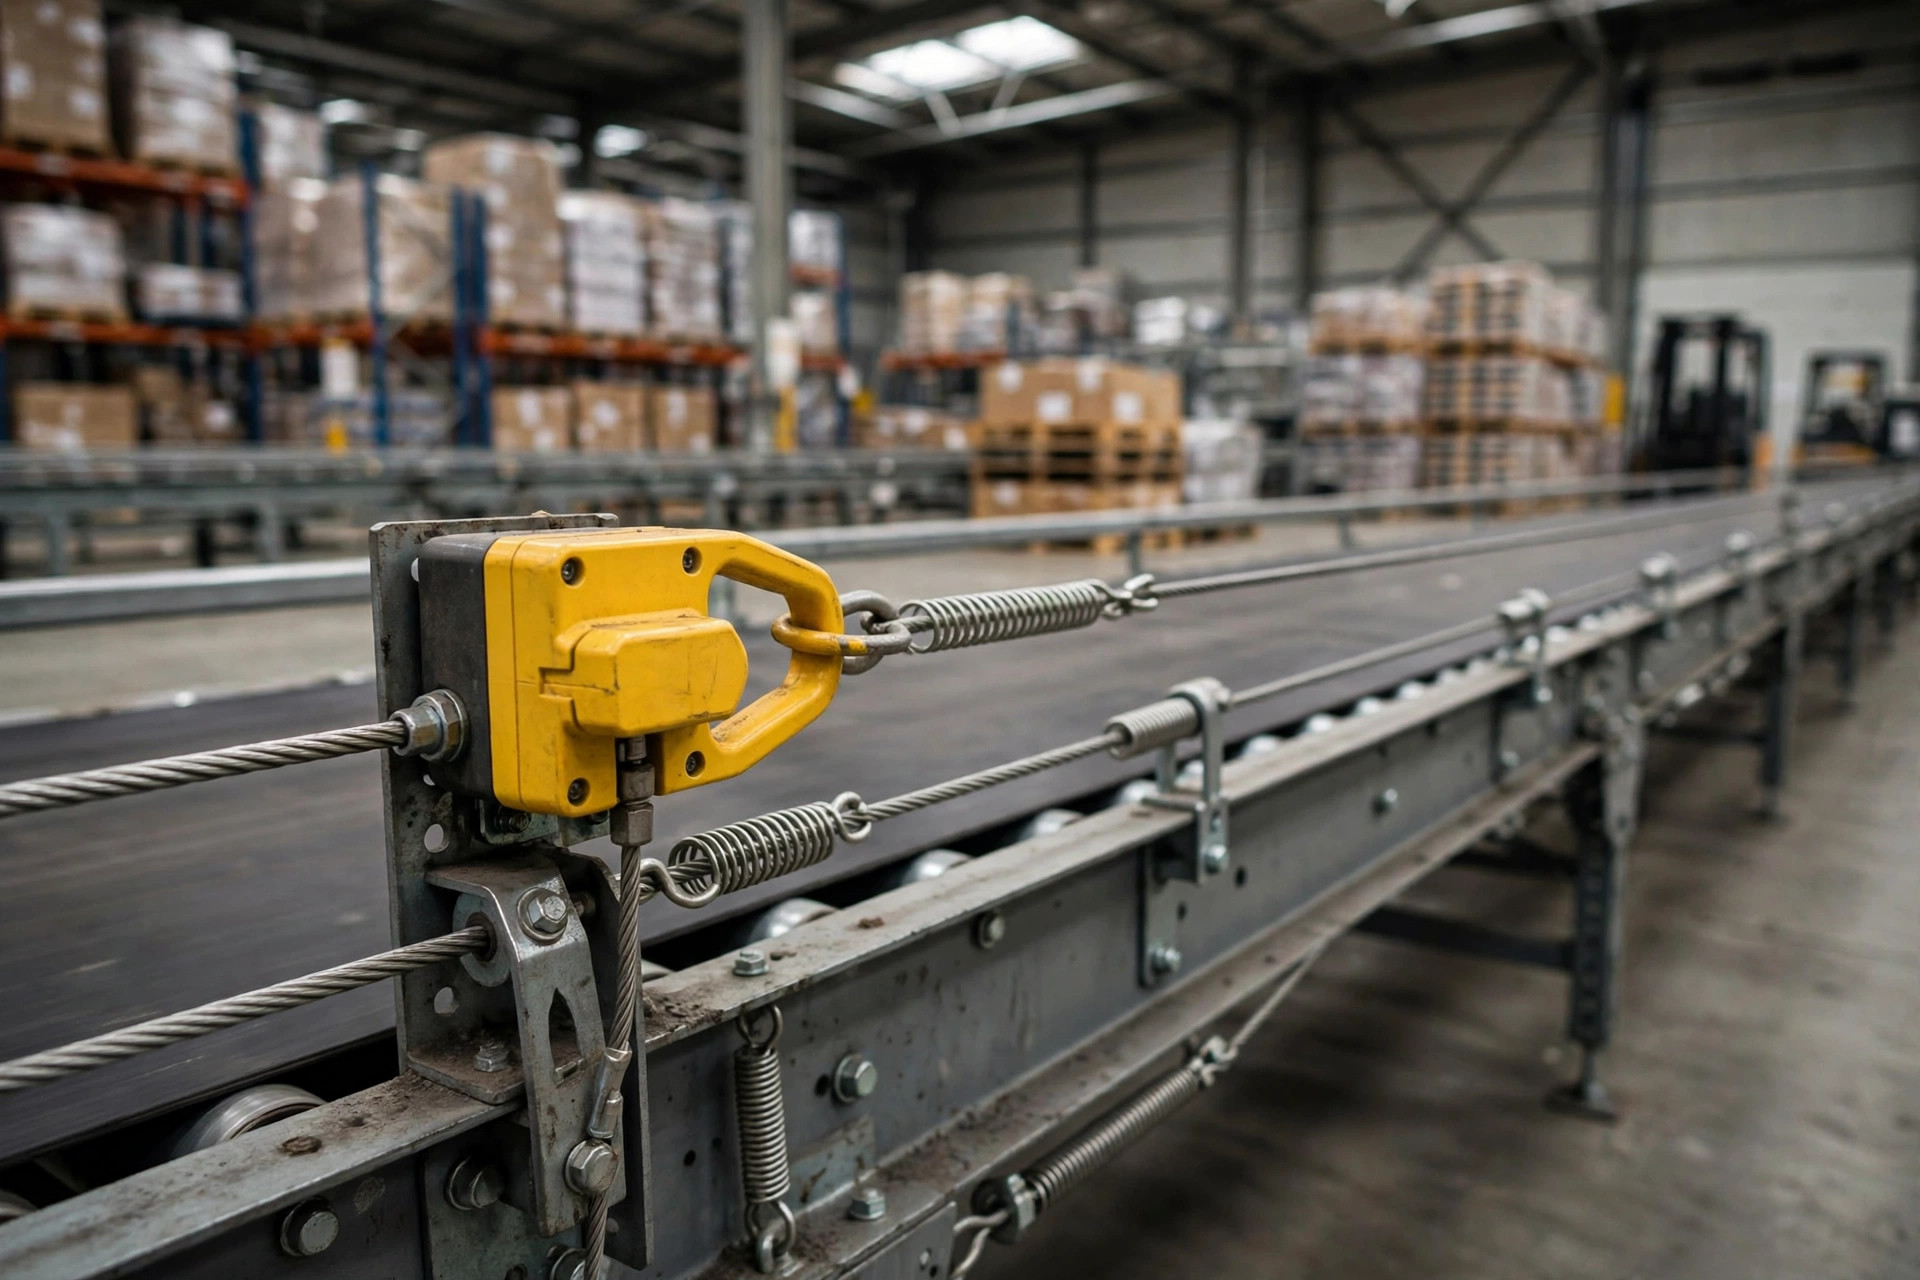
A 120-meter conveyor needs a row of pushbuttons or two pull-cord switches. On paper the pull cord wins on cost by a mile. But rope has a temperament. Steel cable expands and contracts with temperature — slack in summer, tight in winter — and lost tension means nuisance trips. So pull-cord switches need periodic tension checks, the indicator window watched, and support eyebolts spaced per the manual so the rope never sags too far. One thing a lot of people miss: pull-cord switches work on a closed-circuit principle. Pull the rope and it trips; break the rope or lose tension and it trips too. The contacts are normally closed, wired in series in the safety circuit — a snapped rope never silently kills the safety function.
Pushbuttons are the opposite trade: precise location, obvious reset point, but expensive to cover distance with — and mounting height matters more than people think. I learned that one the hard way: buttons mounted on conveyor legs at pallet height got clipped by turning forklifts twice in one year. Since then my rule is chest height, clear of forklift and pallet traffic — I'd rather pay for an extra pedestal than replace a smashed button. One nice detail: better pull-cord switches carry a red mushroom-head E-stop right on the housing, which covers the rope's end points for free.
The safety relay does the real work
When the button gets hit, what actually kills the power? Not the PLC — the safety relay. This is where most circuits go wrong, so here are my three non-negotiables.
Wiring first. Every E-stop device's normally-closed contacts go in series in the safety circuit. Never in parallel. Safety controller manuals print this as a boldface warning: parallel wiring defeats contact monitoring, so a welded contact goes undetected — and that's how people get killed.
Reset second. The reset must be monitored manual reset: you press the reset button, and the safety relay checks every E-stop channel before it allows the outputs to close. No automatic reset — automatic reset means the machine can move again with nobody confirming it's safe. ASME B20.1 is explicit: the conveyor must not be able to start until the actuating device has been reset, and the reset action itself must not start the machine. Starting takes a separate, deliberate action.
Stopping category third. An E-stop must function as a Category 0 or Category 1 stop — NFPA 79 doesn't allow anything else, and the risk assessment picks which. Category 0 cuts power immediately and lets the machine coast down; Category 1 does a controlled deceleration, then cuts power once motion has stopped. A plain belt conveyor is usually fine with Category 0, but high-inertia equipment — heavy roller lines, stacker cranes — deserves a serious look at Category 1, because the shock of a Category 0 stop can become a hazard of its own.
On component selection, I look for three things on the button: red mushroom head, yellow background, latching action. Hit it and it stays in — twist or pull to reset. That's the baseline EN ISO 13850 sets for the emergency stop function. And the contacts must be direct-opening — the mechanism physically forces them apart, the IEC 60947-5-1 Annex K requirement. A standard microswitch won't cut it.
Resets and nuisance trips: where E-stop circuits actually fail
Half of all E-stop circuit failures I see are reset-procedure failures. The worst one: an operator hit the E-stop, the supervisor walked over, twisted the button back, hit start — and nobody ever looked at what caused the trip. After that we put a five-step SOP inside every control cabinet door, no skipping allowed: find out what tripped it and verify on the spot; clear the fault — unjam, reset the protective devices; walk to the actuated device and reset it by hand — on a pull-cord switch that means the blue reset lever, and note that resetting the device does not make the machine runnable; press the cabinet reset button and let the safety relay run its self-check; confirm the area is clear, then issue the start command. Get the order right: reset means "start is permitted," not "start."
Nuisance trips are the other half. The thing E-stops fear most isn't nobody pressing them — it's everybody pressing them by accident. One nuisance trip on a sortation line costs 15 to 20 minutes of clearing and restarting; two in a day and the shift's throughput plan is gone. My field rules: keep E-stop buttons physically separated from normal stop buttons, with different colors and labels — new-hire training starts with "which one is the E-stop and which one is the everyday stop." Don't mount buttons facing straight into foot traffic; side-mount them or use shrouded mushroom heads. And never snap a plastic cover over an E-stop to prevent bumps — NFPA 79 requires the E-stop to work with a single human action, and a cover that costs you one extra second in an emergency can cost everything.
E-stop circuit checklist (print and post on the control cabinet)
□ E-stop button at every operator station — within reach, unobstructed □ Long conveyor runs covered by pull-cord switches, per-switch span per manufacturer manual (about 80 m) □ Rope tension correct, indicator in the green, no missing eyebolts, no excessive sag □ All E-stop contacts wired in series — no parallel connections, no jumpers, no zip ties □ Red mushroom head on yellow background, latching, twist-or-pull reset □ Safety relay with monitored manual reset — reset alone cannot start the machine □ E-stop stop category (0 or 1) matches the risk assessment □ Five-step reset SOP posted inside every cabinet door, all staff trained □ E-stop and normal stop buttons separated and clearly labeled, no covers over E-stops □ Quarterly live test: hit a random E-stop, verify full-line stop and reset sequence